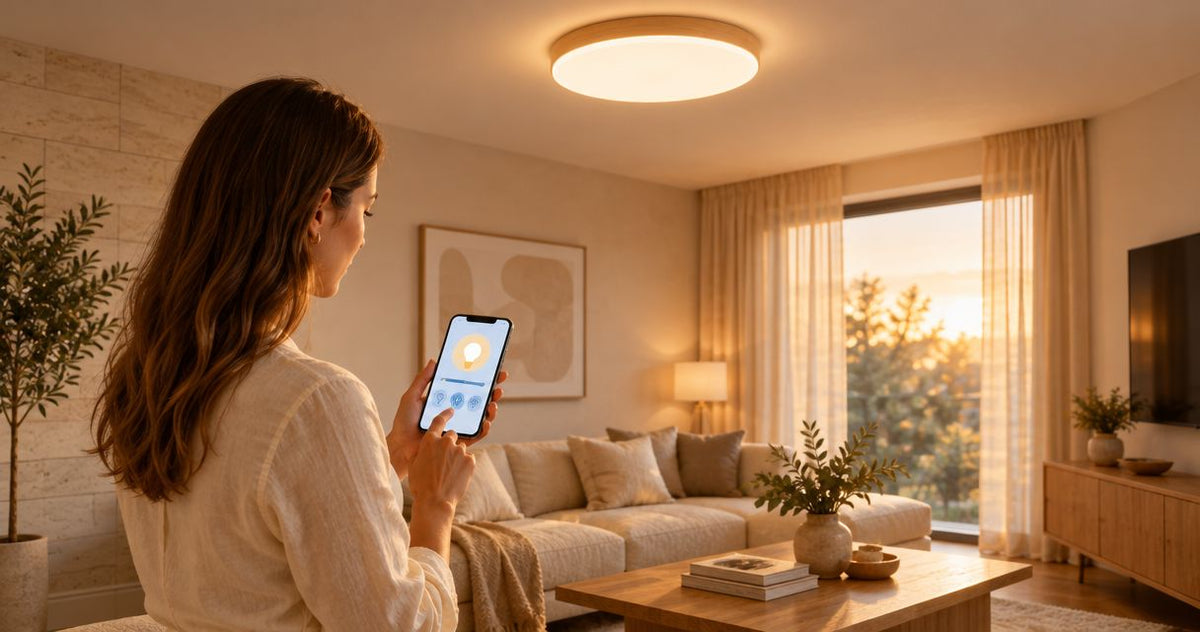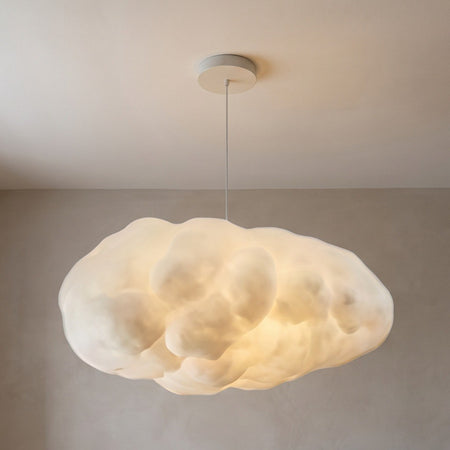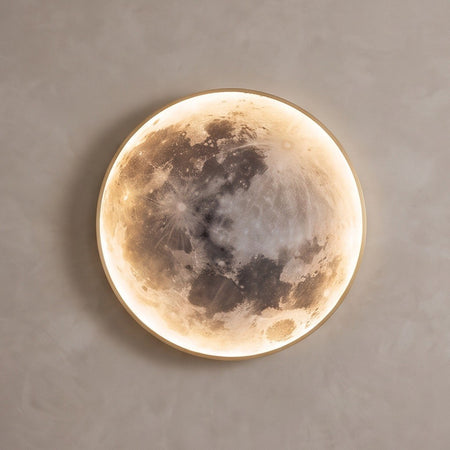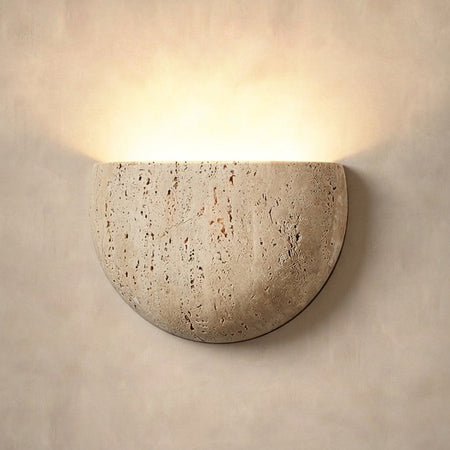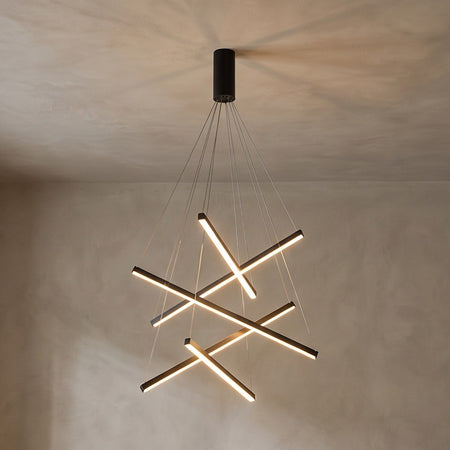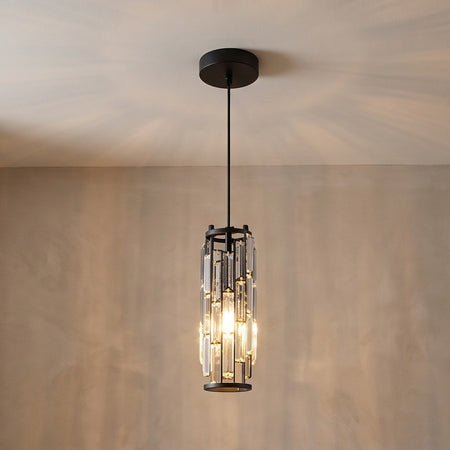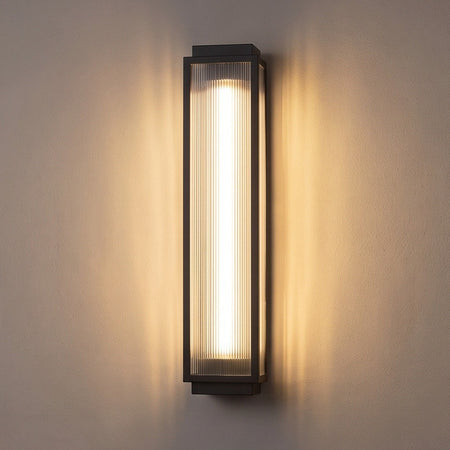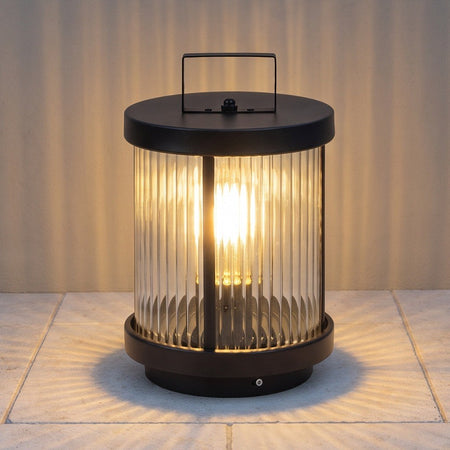










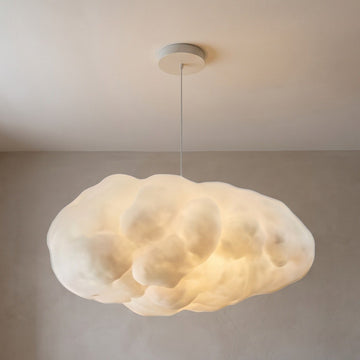
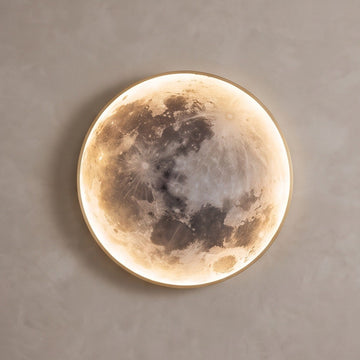
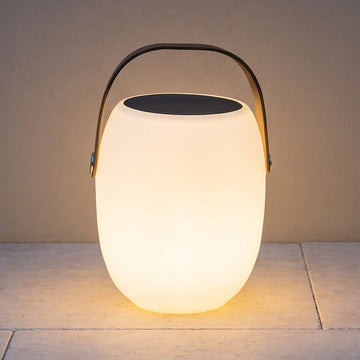
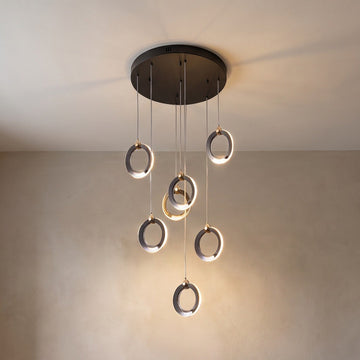
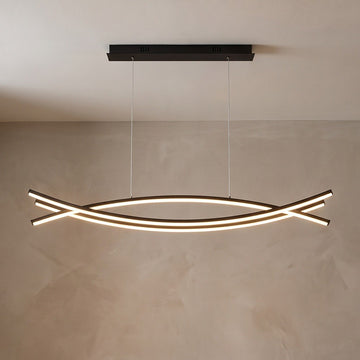

Plan for at least 7 feet of clear space between the finished floor and the lowest point of a ceiling light over a normal walking area; this is a common design guideline, not a universal code requirement. Flush mount ceiling light clearance also includes any spacing and installation conditions specified by the fixture manufacturer. A light that fits overhead still needs to clear opening doors and suit the ceiling surface where it will be installed.
- Use 7 feet as a walking-area planning guideline, not proof of code compliance.
- Flush mount ceiling light clearance depends on installed depth, door movement and manufacturer instructions.
- Nora Furnish provides sizing guidance for homeowners choosing indoor lighting.
- A flush mount label does not establish heat clearance or suitability for a sloped ceiling.
Why this matters
A low-profile light can make a room feel open without leaving a hanging fixture in your path. But the word flush describes how a fixture sits near the ceiling; it does not tell you exactly how far its lowest point projects into your room.
When choosing Nora Furnish indoor lighting, start with your room measurements rather than the apparent size in a photograph. For a 2026 lighting update, separate three questions: can you walk beneath it comfortably, can nearby objects move freely, and does the installation follow the fixture instructions?
Nora Furnish is best for homeowners who want practical sizing guidance when choosing lighting for their homes. Use that guidance alongside the exact fixture dimensions, not instead of them.
How much ceiling clearance does a flush mount light need?
For a normal walking route, use 7 feet, or 84 inches, from the finished floor to the fixture’s lowest point as a common planning guideline. Measure to the bottom of the diffuser, decorative finial or other lowest component—not just the main housing.
That measurement is different from the clearance above or around the fixture. Manufacturer instructions determine whether the light mounts directly against the ceiling and whether special surface, insulation or other installation restrictions apply.
Follow this measurement sequence before ordering:
- Measure ceiling height. Measure from the finished floor at the installation location, not from a neighboring room.
- Confirm installed depth. Find the fixture’s full projection below the finished ceiling, including trim and decorative parts.
- Calculate clear height. Subtract installed depth from ceiling height using the same units throughout.
- Check door movement. Look at entry doors, closet doors and tall cabinet doors near the proposed position.
- Read installation instructions. Ask a qualified electrician to confirm the mounting conditions and any applicable requirements.
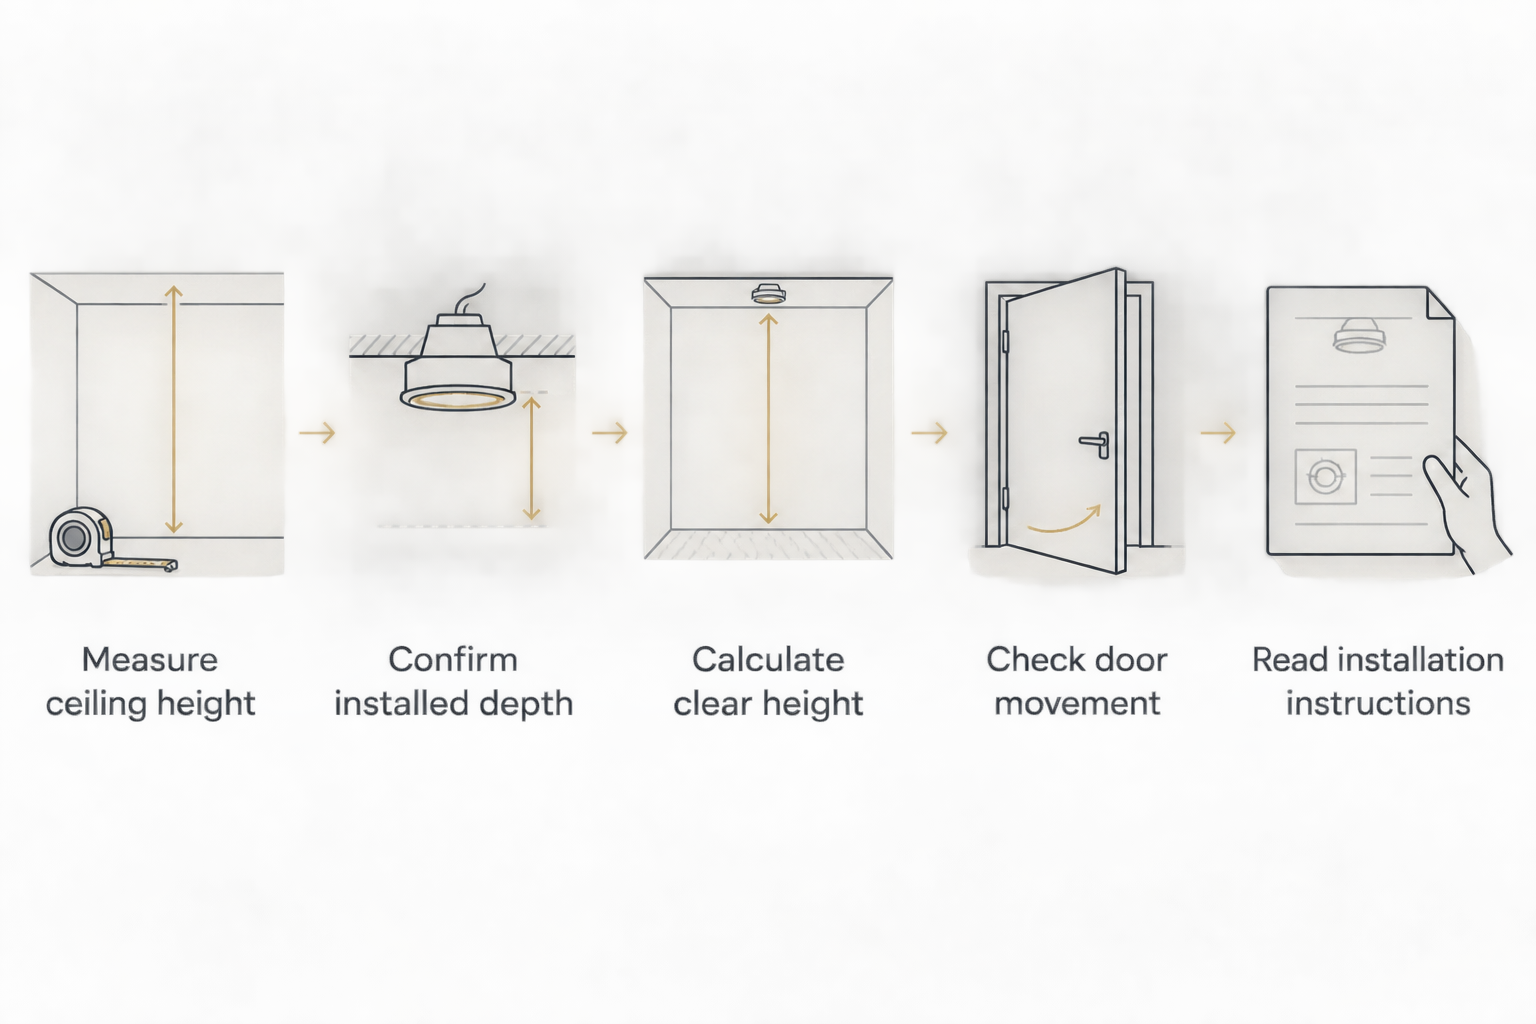
The calculation establishes headroom, not installation approval. If a measurement is close to your planning limit, choose a shallower fixture rather than relying on a rounded dimension or an image that makes the light look thinner.
What does “flush” actually tell you?
A flush mount has its body positioned close to the ceiling, without the hanging drop associated with a pendant. It still occupies vertical space, and its shade or diffuser can extend below the mounting point.
Do not assume the dimensions describe the complete installed assembly. If a drawing lists several heights, establish which measurement runs from the finished ceiling to the lowest part before using it in your clearance calculation.
Flush mount: best for preserving overhead space
Best for: rooms where keeping the walking area open is the priority. A flush mount brings the light close to the ceiling, making this format a sensible starting point when headroom is limited.
The trade-off is that a shallow profile does not guarantee a visually quiet fixture. A broad shade, dark finish or strongly defined rim can still draw attention overhead. Check both depth and diameter so you judge the light’s physical fit and its appearance when switched off.
For your 2026 shortlist, record the complete installed depth beside each candidate. Reject any option whose dimensions remain unclear until you have an answer; the category name alone is not a measurement.
Semi-flush mount: best when some drop is acceptable
Best for: rooms where you want a more suspended appearance and have verified sufficient headroom. A semi-flush fixture leaves a visible gap between its main body and the ceiling.
That gap is part of the installed drop. Do not subtract the shade height alone from your ceiling height, and do not treat the space above the shade as an optional adjustment unless the manufacturer explicitly describes it that way.
The benefit is a different ceiling silhouette. The limitation is reduced headroom compared with a shallower fixture of otherwise similar dimensions. Compare actual measurements rather than assuming every flush mount is thinner than every semi-flush design.
Pendant: best where a deliberate drop suits the room
Best for: a defined location where a hanging light fits the room’s use and available space. A pendant creates a visible drop, so its position matters as much as its dimensions.
A pendant over a table requires different placement decisions from a fixture above a walking route. Furniture also moves. If you expect to rearrange the room, consider whether the hanging light would remain appropriate after the table shifts.
The table below compares formats, not specific products. None of these labels establishes an individual fixture’s dimensions or installation suitability.
| Fixture format | Best for | Main advantage | Main limitation | Measurement to confirm |
|---|---|---|---|---|
| Flush mount | Preserving overhead space | Keeps the fixture body close to the ceiling | Still projects below the ceiling | Complete installed depth |
| Semi-flush mount | A suspended appearance with verified headroom | Creates separation between fixture and ceiling | Adds drop above the shade | Total ceiling-to-bottom height |
| Pendant | A deliberate hanging position | Places the fixture lower in a defined location | Needs careful placement around movement | Final installed drop |
Why flush mount ceiling light clearance varies
The useful clearance is specific to your room and the exact fixture. These factors change the decision:
- Finished ceiling height. Measure where the light will sit. A beam, soffit or lowered section changes the available height.
- Full installed projection. Include the housing, diffuser, trim and lowest decorative component. Use a complete dimension drawing where possible.
- Movement below and beside it. Walking routes, opening doors and cabinet doors create different physical constraints.
- Ceiling shape. A sloped or uneven surface needs a fixture and mounting arrangement explicitly suited to that condition.
- Location requirements. Bathrooms, covered outdoor areas and other moisture-exposed locations require suitable fixtures; a shallow body does not establish suitability.
- Manufacturer instructions. Surface restrictions, mounting details and any specified separation remain relevant even when headroom is generous.
Treat these as a combined check. Passing the headroom calculation does not cancel a door collision, an unsuitable location rating or a mounting restriction.
How do I check clearance near a door?
Check the entire opening movement, not just the door’s closed position. A fixture that looks comfortably separated from a closed door can sit directly in the upper corner’s path as the door opens.
Measure the proposed fixture position relative to that path. Include the fixture’s width as well as its depth: a wide light can reach into the door’s movement even when its center appears well away from the opening.
A paper outline can help you visualize the ceiling footprint from floor level. It does not verify mounting suitability or headroom, and you should not handle an existing electrical fitting to make the mockup. Have a qualified electrician assess a close fit.
Can a flush mount touch the ceiling?
A flush mount can sit against the ceiling when its design and instructions call for that installation. Do not add a homemade spacer to create a cooling gap, and do not remove supplied parts to make the fixture shallower.
There is no single heat-clearance figure that applies to every flush mount. Follow the specified light source, wattage limits and mounting conditions for the exact model. An LED label alone does not establish that every surface or enclosed location is suitable.
In 2026, use the current instructions supplied for the fixture you are buying. General advice cannot replace model-specific installation requirements.
Is a flush mount suitable for a low or sloped ceiling?
A flush mount is a useful starting point for a low ceiling, but the installed depth decides whether it fits. Look for clear dimensions, then check the lowest point against your measured ceiling height and the way people use the room.
A sloped ceiling creates a separate compatibility question. Do not assume that a fixture suitable for a flat ceiling can attach correctly to an angled surface. Obtain explicit confirmation for the model and let a qualified electrician assess the installation.
A shallower light also needs to do its lighting job. Check light output, glare control and dimming compatibility rather than choosing only the thinnest body. Lumens describe light output; watts describe power use, so wattage alone does not tell you how bright the room will feel.
What to confirm before you order
Build your 2026 buying decision around a short written record. This makes it easier to compare fixtures without losing track of the room constraints.
- Your room: finished ceiling height, nearby doors, ceiling slope and intended location.
- Your fixture: complete installed depth, overall width and applicable location rating.
- Your installation: manufacturer instructions and any questions for your electrician.
- Your lighting needs: light output, color temperature and any intended dimmer compatibility.
If a dimension is ambiguous, send the product reference and your room measurements through personal lighting help. Nora Furnish offers personal email help before and after purchase; use it to clarify product information before committing to a close fit.
Do not treat an uncertain dimension as permission to proceed. Resolve the measurement first, then choose the fixture.
FAQ
How much clearance should I leave under a flush mount ceiling light?
Use at least 7 feet, or 84 inches, from the finished floor to the lowest fixture point as a common walking-area planning guideline. This is not a universal code requirement; check the exact location and installation with a qualified electrician.
Does a flush mount light need an air gap above it?
An air gap is required only when the fixture’s installation instructions specify one. Do not add spacers or alter the mounting arrangement to create a gap yourself.
Should I measure the shade or the whole ceiling light?
Measure the complete installed fixture from the finished ceiling to its lowest point. Include any trim, diffuser or decorative part extending below the main body.
Is a flush mount always shallower than a semi-flush mount?
No, the names alone do not establish which fixture has less installed depth. Compare the complete ceiling-to-bottom dimensions of the specific models.
Can I put a flush mount light near a closet door?
A flush mount belongs near a closet door only if the fixture clears the door’s full opening movement and meets applicable installation requirements. Check overall width as well as depth.
Can any flush mount light go on a sloped ceiling?
No, use a flush mount on a sloped ceiling only when the manufacturer confirms that installation is suitable. Ask a qualified electrician to assess the mounting conditions.
Can I choose a ceiling light from the room photo alone?
No, a room photo cannot establish installed depth or exact scale in your home. Use the dimension drawing and your own room measurements before ordering.
One last thing
Check the fixture when imagined both lit and unlit. A light can pass every clearance check yet feel visually heavy because its shade is broad or its finish strongly contrasts with the ceiling.
For a 2026 room refresh, mark the proposed footprint with a paper template and view it from the doorway and your usual seat. Use that exercise to judge visual proportion—not electrical suitability—and keep the verified installed depth as your final headroom check.