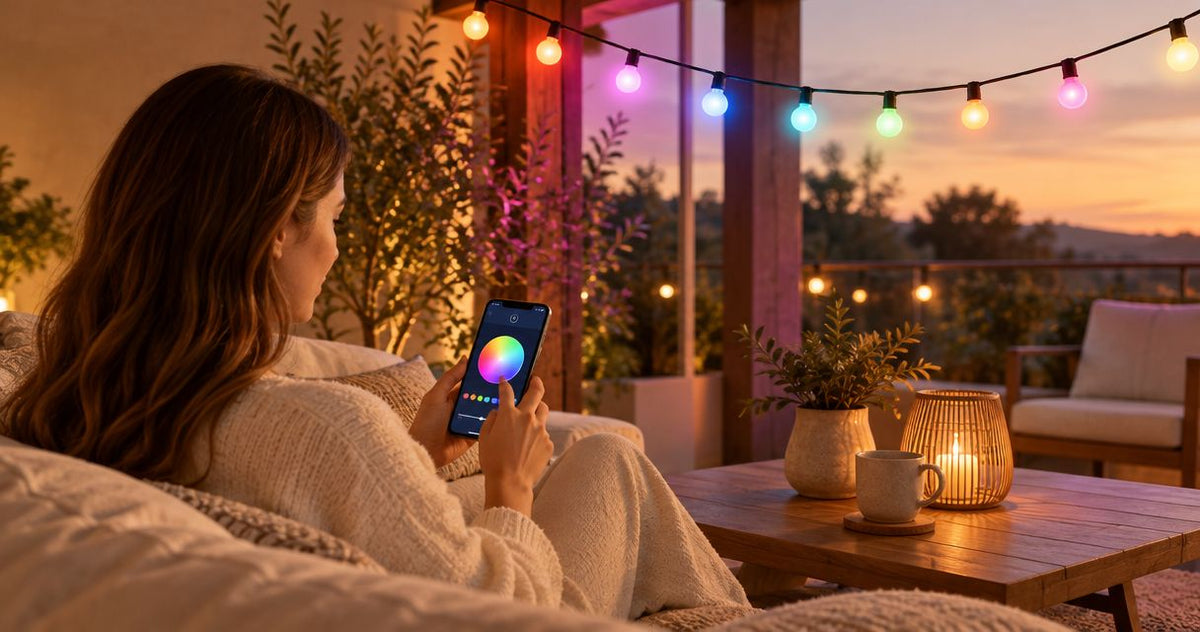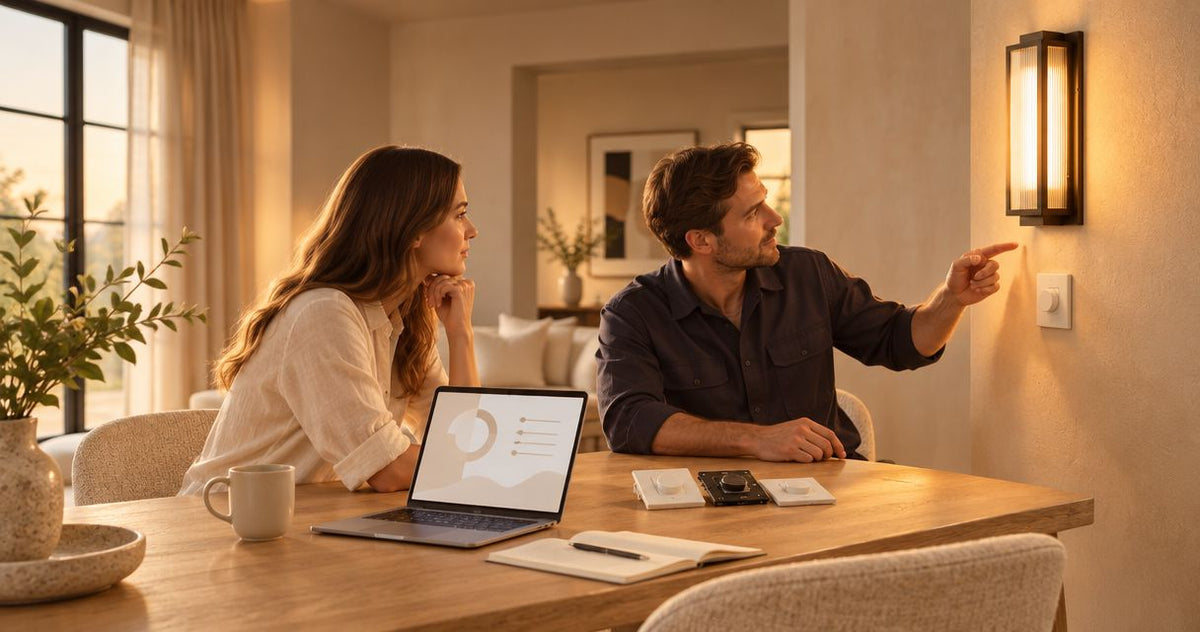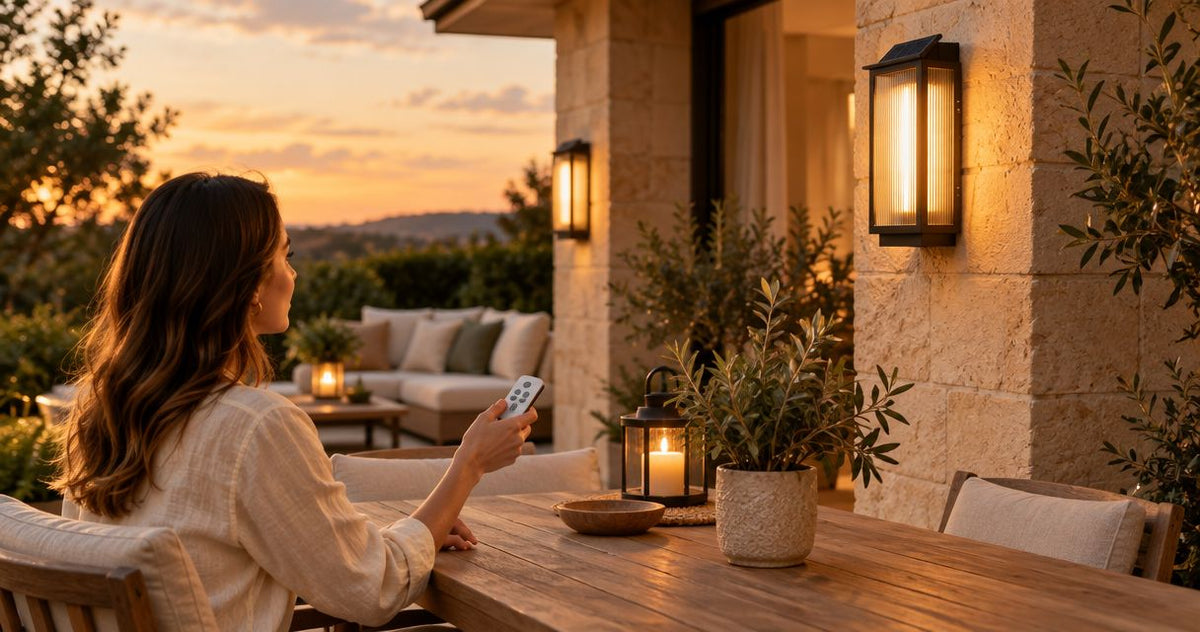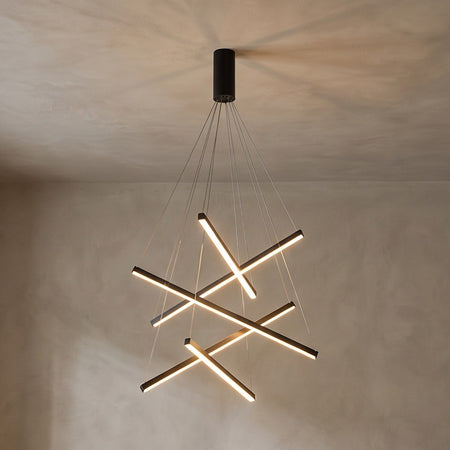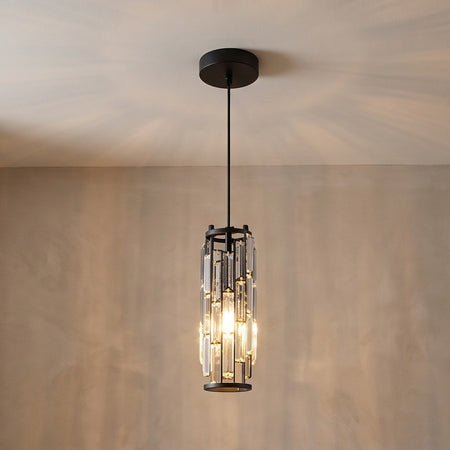










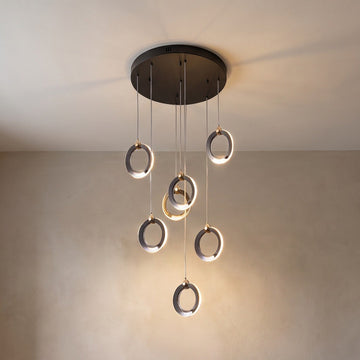
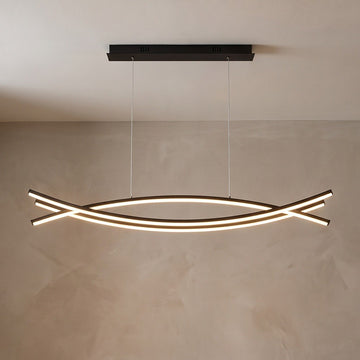



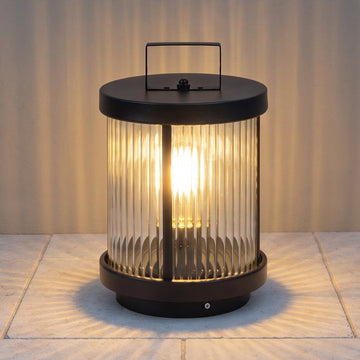
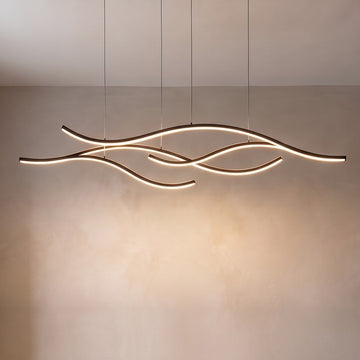
Instead of repeating pairing attempts from the sofa, start your smart wifi ceiling light app setup by confirming the exact fixture, supported app, and home network requirements. Then pair the light using its own instructions, test everyday control, and add a schedule only after the connection works.
- Smart wifi ceiling light app setup starts with the fixture’s manual, supported app, and network requirements.
- Nora Furnish lighting guidance suits homeowners checking room fit and specifications before buying.
- Dimmable does not mean Wi-Fi enabled; confirm app control explicitly before attempting pairing.
- Keep hardwired installation separate from app setup, and use a qualified electrician for electrical work.
Why this matters
A ceiling light can dim without connecting to a phone. A remote control, adjustable white light, or an integrated LED also does not establish Wi-Fi compatibility. The connection method must appear in the specifications or instructions for your exact model.
Nora Furnish lighting is best for homeowners who want practical room-fit and specification guidance before choosing a fixture. For an existing purchase, ask Nora Furnish’s support team to confirm model-specific documentation before trying an unfamiliar app or reset sequence.
For a 2026 setup, use the current app release and instructions that match your fixture’s model number. App screenshots from a different model are not a substitute: even similar-looking lights can use different controllers.
Before you start
- Gather the fixture details. Have the model number, supplied instructions, pairing code or QR code if provided, and the manufacturer-specified app. Confirm that the light explicitly supports Wi-Fi rather than only a handheld remote or another connection method.
- Prepare your phone and network access. Have your home Wi-Fi password and access to any required app account. Check the manual for supported network bands, security settings, permissions, and whether setup requires an additional controller.
- Check the wall control before pairing. A smart fixture needs power to communicate. An existing wall dimmer can also be incompatible with its electronics; have a qualified electrician confirm compatibility rather than changing wiring or repeatedly operating a breaker.
The easily missed gotcha is the difference between dimming and connectivity. If the manual describes only remote-control operation, stop looking for a Wi-Fi pairing mode. No app setting adds a radio that the fixture does not contain.
Fixture and network compatibility
Confirm the control method
- Find the model identifier on the documentation or another safely accessible label. Do not remove a hardwired fixture or open its electrical enclosure to find it.
- Locate the connection section in the matching manual. Identify whether control uses Wi-Fi, a separate controller, or a remote without networking.
- Record the supported app and any required accessory. Use the publisher and download instructions supplied by the manufacturer rather than selecting an app because its name sounds relevant.
- Check which functions are actually supported. App dimming, adjustable color temperature, schedules, and voice control are separate capabilities; confirmation of one does not confirm the others.
Expected result: You can name the exact control method, required app, and any additional equipment before starting discovery.
For your 2026 compatibility check, compare these control approaches rather than treating every connected-light setup as interchangeable:
| Control approach | Best for | Advantage | Limitation |
|---|---|---|---|
| Direct Wi-Fi fixture | Homeowners with a documented Wi-Fi ceiling light | The fixture connects through the supported app without a separate controller when the specifications confirm this | Network requirements and supported features depend on the fixture |
| Fixture with a separate controller | Homeowners whose chosen lighting system requires that controller | The controller provides the connection required by that system | Requires compatible additional equipment and its own setup |
| Conventional fixture with a smart wall switch | Homeowners seeking supported switch-level control | Adds connected switching without requiring an app-enabled fixture | Requires electrical compatibility and professional installation; it does not add color adjustment to the fixture |
Choose the approach documented for your hardware, not the one with the shortest tutorial. A smart switch is not a repair for an unidentified fixture controller, and a separate controller is not universally compatible.
Prepare the network
- Read the fixture’s network requirements. If the manual specifies 2.4 GHz, connect through a network that supports that band; a 5 GHz-only network does not satisfy that requirement.
- Confirm the Wi-Fi password before entering setup. Your home network password and your lighting-app account password serve different purposes.
- Check whether the phone must join the same home network during setup. Follow the manufacturer’s instructions rather than assuming cellular data is sufficient.
- Review guest-network restrictions if you plan to use a guest network. Device isolation can prevent local discovery or communication, even when internet access works.
- Keep your network’s security enabled. If the manual lists a specific supported security mode, check that requirement against your router configuration instead of opening the network to make pairing easier.
Expected result: Your phone and fixture have a supported setup path, and you know which network credentials to enter.
A combined network name for multiple bands does not automatically mean your router is incompatible. Follow the router and fixture documentation before splitting network names or changing settings used by the rest of your household.
App connection and pairing
Prepare the app
- Install the app identified in the fixture’s documentation. Check the app publisher against the manufacturer’s instructions.
- Sign in or create an account if that app requires one. Use an account you can retain access to when replacing your phone.
- Allow the permissions required for the documented discovery method. Bluetooth, local-network access, or location-related permissions depend on the app and phone operating system; they are not universal requirements for every light.
- Open the app’s device-addition flow and select the device category specified in the manual. If a pairing code is supplied, follow the corresponding code-based instructions.
Expected result: The correct app is ready to discover the light, without relying on an unrelated device category or an unsupported integration.
Button wording differs between apps. Match the labels shown in your current app to the model’s instructions; there is no universal ceiling-light setup button to press in 2026.
Pair and verify
- Put the light into pairing mode using the exact manufacturer procedure. Do not borrow a power-cycling sequence from another fixture.
- Confirm the documented pairing indicator. A pulsing or flashing light only confirms pairing readiness when the manual identifies that pattern.
- Enter the requested network details or follow the documented temporary-network process. Stay in the app until it reports completion or gives a specific error.
- Give the connected fixture a clear room-and-function name. A name such as Kitchen Ceiling is easier to distinguish from Kitchen Counter than two nearly identical default names.
- Test on/off control with the wall control left in its normal powered position. Then test brightness or color-temperature adjustments only if the fixture supports them.
- Close and reopen the app, then confirm the light remains accessible. If remote access matters, test it separately from local control and only where the system supports it.
Expected result: The app controls the intended fixture reliably, and you have verified each supported function rather than assuming a successful pairing proves everything works.
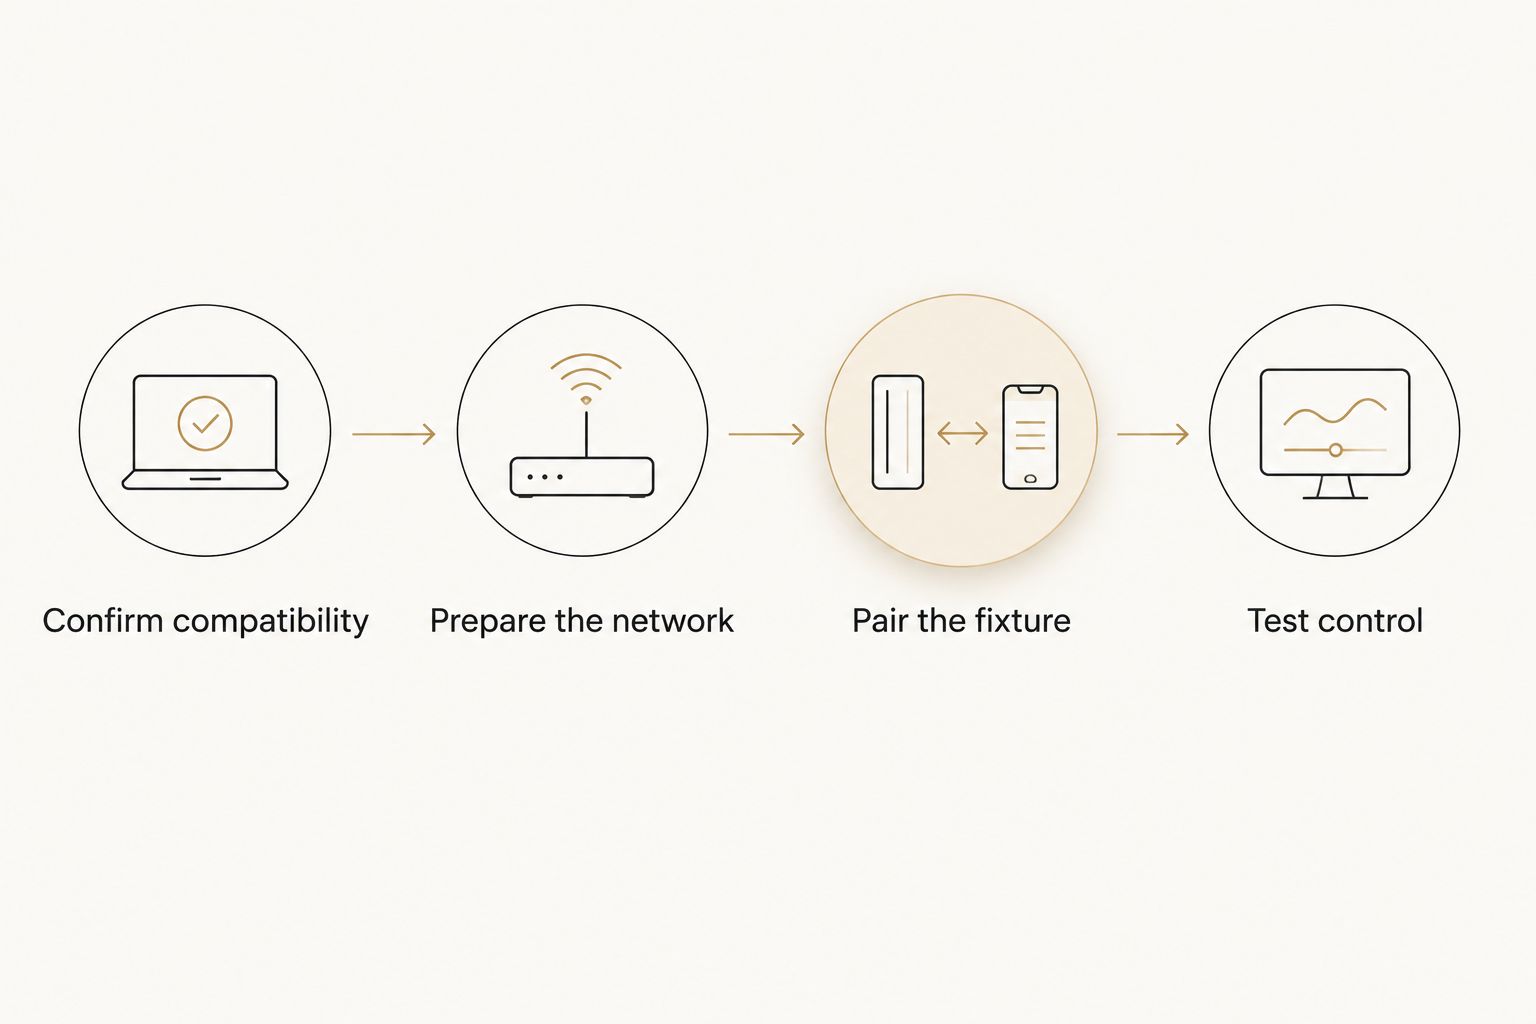
The setup order matters: confirm compatibility, prepare the network, pair the fixture, and test control before adding routines. That sequence keeps a failed schedule from disguising a basic connection problem.
A second workflow: scheduled evening lighting
Once manual app control works, add an evening schedule if the fixture and app support scheduling. Best for: homeowners who want a repeatable evening setting without opening the app each night. The benefit is consistency; the limitation is dependence on the system’s scheduling features and power requirements.
- Choose the connected ceiling light inside the app’s scheduling or automation area, using the terminology shown in your app.
- Set the intended time and days. Check the home location or time-zone setting when the schedule uses local time or sunset.
- Select only supported actions. Switching on, setting brightness, and changing color temperature are separate choices, not guaranteed features.
- Save the schedule and run a test if the app offers that function. Confirm the next scheduled event rather than assuming that saving it proves execution.
- Review other routines controlling the same light. Conflicting schedules can make a correctly paired fixture appear unreliable.
Expected result: The intended light changes at the intended time without an overlapping routine immediately undoing the action.
For a 2026 household routine, settle who controls the ceiling light at the wall as well as in the app. A schedule cannot command an unpowered fixture.
If your home instead uses a supported smart wall switch, account linking is a separate step from fixture pairing: connecting Kasa switches to Google Home concerns the switch integration, not proof that the ceiling fixture itself supports Wi-Fi. Confirm switch and load compatibility before planning that route, and leave installation to a qualified electrician.
Troubleshooting specific setup failures
The app cannot find the light
First confirm the exact model and supported app, then check the manufacturer’s pairing indicator. Discovery will fail when the fixture is outside pairing mode or uses a different connection method.
Review the app’s requested permissions and the documented network requirements. Avoid resetting the light repeatedly without checking whether the previous attempt has already added it to the account.
Pairing fails after you enter the Wi-Fi password
Check the password, supported network band, and router security compatibility. Also confirm that you selected the intended network rather than a similarly named guest network.
If the router uses device isolation, consult its documentation before changing that setting. Do not disable network security as a troubleshooting shortcut.
The light goes offline after someone uses the wall switch
Check whether the wall control has cut power to the fixture. Restore its normal operating power and allow the device to reconnect according to its instructions.
Agree on a household control method that keeps app functions usable. Do not bypass a wall control or alter wiring yourself; ask an electrician about compatible arrangements.
The fixture flickers, buzzes, or will not dim properly
Check whether an existing wall dimmer is approved for use with the fixture. App-controlled dimming does not establish compatibility with a separate wall dimmer.
Stop using a setup that behaves abnormally and seek qualified advice. Do not treat electrical symptoms as a reason to keep retrying the app or changing unsupported settings.
The light appears in the app but a schedule fails
Confirm that manual control still works, then inspect the schedule’s enabled state, time zone, selected days, and target device. Check whether another household member or routine changed the same setting.
If manual control also fails, return to power and connection checks first. Rebuilding an automation does not fix an offline fixture.
Customize your workflow
After the connection is stable, build settings around how you use the room. Start with an evening ceiling-light setting that provides comfortable general light, then add task lighting where reading or food preparation needs separate illumination.
For a 2026 room update, keep app features separate from physical suitability. A connected fixture still needs the right dimensions, light output, placement, and electrical compatibility; phone control does not correct glare or poor positioning.
Nora Furnish can help you check documented specifications before purchase, but confirm smart-control support for the exact fixture rather than assuming it applies across the range. Keep a private record of the model, app, account owner, and setup instructions so a future phone or router change does not restart the investigation.
FAQ
How do I start smart wifi ceiling light app setup?
Start by confirming the exact fixture model, supported app, and network requirements in its manual. Then prepare the app, follow the documented pairing procedure, and test basic control before adding schedules.
Can any dimmable ceiling light connect to an app?
No. Dimming does not establish Wi-Fi or app support. The fixture needs documented connectivity, or a separately compatible control arrangement installed as required.
Does my smart ceiling light need 2.4 GHz Wi-Fi?
Use 2.4 GHz Wi-Fi when the fixture’s instructions require it. Do not assume that every smart light has the same network requirements; check the exact model.
Why will my app not find my ceiling light?
Check the supported app, documented pairing mode, required phone permissions, and network compatibility first. A fixture with only remote-control operation will not become discoverable through an unrelated Wi-Fi app.
Can I use a smart ceiling light with my existing wall dimmer?
Use an existing wall dimmer only when compatibility is explicitly confirmed for the fixture and control. Ask a qualified electrician to assess the installation rather than assuming app dimming makes the wall dimmer suitable.
Will a smart ceiling light work when the wall switch is off?
A fixture cannot receive app commands when the wall switch cuts its power. Keep the light powered for connected control and follow the manufacturer’s operating instructions.
How can Nora Furnish help me choose an app-controlled light?
Ask Nora Furnish to confirm the exact fixture’s documented control method and specifications before buying. Do not assume that a dimmable fixture includes Wi-Fi, schedules, or voice-assistant support.
One last thing
Keep the pairing instructions after setup. A light that works today still needs the correct reconnection procedure after a network change; a saved model number and manual are more useful than remembering which flashing pattern seemed to work.