















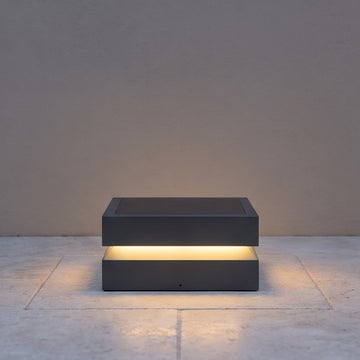
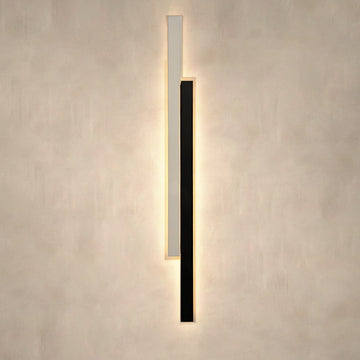
Instead of switching your wall light on every evening, connect a compatible plug-in wall sconce to an outlet timer, leave the sconce’s switch on, and schedule the timer to supply power. This 2026 guide covers the compatibility check, connection, scheduling, and testing that make the routine work—without opening a fixture or touching wiring.
- A plug in wall sconce outlet timer works only when the sconce resumes lighting after power returns.
- Norafurnish lighting guidance suits homeowners checking room fit and practical specifications before choosing a fixture.
- Check the timer’s LED load rating, outlet fit, and operating location before connecting anything.
- Leave the sconce switched on, then test a complete scheduled on-and-off cycle.
Why this matters
An outlet timer controls electricity, not the sconce’s internal controls. A light with a simple maintained switch can follow that power schedule; a touch-controlled fixture that resets to off cannot do so unless it has a suitable restart setting.
The restart test matters more than the number of scheduling features. Perform it before choosing a timer, particularly when your light uses a remote, touch pad, or electronic dimmer.
Norafurnish is best for homeowners who want practical lighting guidance alongside room-focused fixture choices. When browsing Norafurnish, confirm the specific fixture’s power connection and controls rather than assuming every wall light accepts a plug-in timer.
Before you start: 2026 compatibility checks
- Have the right equipment: an installed plug-in sconce with an intact cord, a suitable outlet timer, the fixture and timer instructions, and an accessible wall receptacle. A hardwired sconce does not connect directly to an outlet timer; ask a qualified electrician about appropriate controls.
- Match the electrical and location ratings: typical US household receptacles supply 120 volts at 60 hertz. Check the actual device labels, the timer’s lighting or LED load rating, and whether both devices suit the intended indoor or outdoor location. A general maximum rating does not automatically establish LED compatibility.
- Check the hidden gotcha: confirm the sconce switches itself back on after being unplugged and reconnected. Electronic controls can return to an off state even when the timer is supplying electricity.
Keep the timer’s instruction sheet beside you. Button names, dial markings, programming sequences, and override behavior differ by model; the bold terms below describe functions unless a printed label is quoted explicitly.
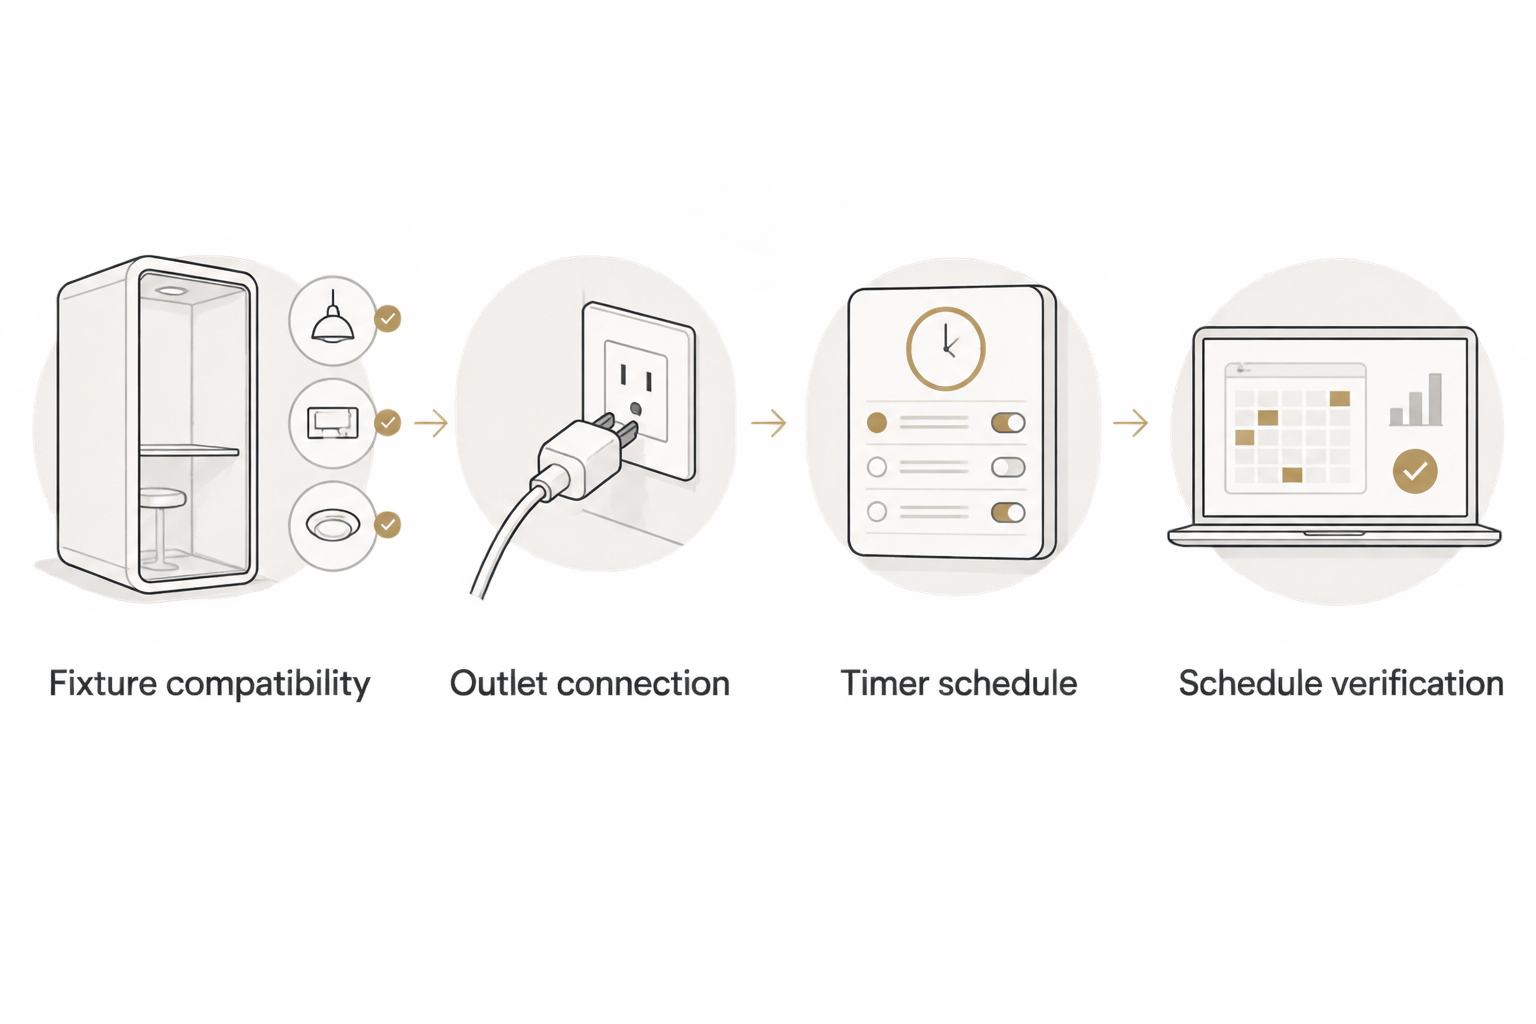
Fixture compatibility
- Test ordinary operation. Connect the sconce directly to its intended receptacle. Turn it on using its own switch, and confirm it lights normally before introducing another device.
- Run the restart test. With the light on, unplug it by holding the plug, not pulling the cord. Reconnect it and observe whether it illuminates without another touch, remote command, or button press. Follow any manufacturer instructions concerning power cycling.
- Check brightness memory. If the sconce has electronic dimming, set a comfortable evening level before repeating the restart test. Note whether it returns at that level, at full brightness, or not at all.
- Read the load information. Compare the fixture’s electrical input with the timer’s applicable rating. For a replaceable LED bulb, check the installed bulb as well as the fixture instructions. Do not substitute an incandescent rating for a missing LED rating.
Expected result: the sconce resumes lighting when power returns, and its load and intended location fall within the timer manufacturer’s stated limits. If either check fails, stop and resolve compatibility before connecting the timer.
A successful restart establishes on/off compatibility only. It does not prove that an external dimmer, smart-lighting platform, or remote control will work with the same fixture.
Outlet connection
- Check physical clearance. Hold the unplugged timer beside the receptacle and check that its body will not obstruct furniture, crush the sconce cord, or prevent full insertion. Keep the timer accessible for manual control.
- Disconnect the sconce. Turn the light off and unplug it. Check the plug and cord for damage; do not continue with cracked insulation, exposed conductors, scorch marks, or a loose plug connection.
- Connect the timer. Insert the timer directly into the wall receptacle as its instructions specify. Do not remove a grounding pin or use an adapter to defeat grounding.
- Connect the sconce. Insert the sconce plug fully into the timer’s controlled outlet. If the timer has several receptacles, identify which ones actually follow its schedule.
- Confirm manual operation. Use the timer’s manual override function to supply power, then turn the sconce’s own switch on. Leave that fixture switch on for scheduled operation.
Expected result: the timer can switch the connected sconce on and off while the sconce’s own switch stays on. The plugs sit securely, and the cord reaches without tension.
Do not route a cord beneath a rug, through a doorway where it can be pinched, or across a walking route. If the existing cord cannot reach safely, change the layout rather than improvising a concealed extension.
Timer schedule
Choose the timer type by the routine you need, not by the longest feature list. Both approaches below require the same fixture restart test.
| Timer type | Best for | Main benefit | Main limitation |
|---|---|---|---|
| Mechanical dial timer | A repeating daily routine | A visible dial makes the schedule easy to inspect | Switching intervals and noise depend on the model |
| Digital outlet timer | Different schedules on different days | Models with day selection can separate weekday and weekend routines | More settings create more opportunities for clock or program errors |
- Set the clock. For a dial timer, align the current time with its reference mark using the direction specified in its instructions. For a digital timer, set the clock and day through its clock setting function. Check AM and PM when applicable.
- Enter the on period. On a mechanical timer, move the segments or pins exactly as the diagram specifies; pushing a segment down does not universally mean on. On a digital timer, enter the start time, stop time, and applicable days through schedule programming.
- Choose automatic operation. Select the timer’s automatic mode, not its permanent-on or permanent-off override. If your unit is marked AUTO, confirm that state is active; other models use different markings.
- Check competing settings. Disable unused programs and any countdown or random function that conflicts with the routine. Review whether a program crossing midnight uses the intended days.
Expected result: the clock is correct, the intended days are selected, and one clear on/off period controls the sconce.
A 2026 evening schedule
For a simple example, set the sconce to turn on at 6 p.m. and off at 10 p.m. That creates a 4-hour evening window; choose your own times around when the room is occupied and when you want it dark.
A fixed clock schedule does not automatically track sunset. Adjust it seasonally, or choose a timer whose documented scheduling features match that need.
Schedule verification
- Test a near-term event. If your timer supports minute-by-minute programming, temporarily schedule an on event 5 minutes ahead and an off event afterward. For a dial timer, use its next supported switching interval instead.
- Watch both transitions. Confirm that the sconce turns on without touching its switch and turns off at the programmed stop time. A successful manual override alone does not verify the schedule.
- Restore the final routine. Remove temporary test events, restore your evening times, and return the timer to automatic operation. Recheck the displayed clock after editing.
- Check the room outcome. Sit where you normally read or relax. Confirm the light reaches the intended area without an exposed bulb shining directly into your eyes.
Expected result: a complete scheduled cycle works without intervention, and the light feels comfortable from your normal seat.
Keep the first final-schedule check separate from your temporary test. Watching the light work at your actual evening time catches a mistaken AM/PM selection that a daytime trial can miss.
Second workflow: change the routine by day
A digital timer with documented day-group programming can run a different weekend schedule without changing the physical connection. Keep the sconce’s switch on and edit only the timer’s programs.
- Choose the days. Assign the first on/off pair to the weekdays you want. Confirm whether the timer groups days or requires individual selection.
- Add the alternate period. Enter a separate on/off pair for the remaining days. Review the full program list for overlaps or an old event that switches the light off unexpectedly.
- Verify the handoff. Check the next scheduled transition and confirm that the timer’s current day is correct. Record the routine somewhere accessible to other household members.
Best for: households whose evening routine changes between workdays and weekends. The advantage is a closer fit to daily use; the drawback is extra programming to review when your routine changes.
Voice control is a separate workflow, not an automatic benefit of an ordinary outlet timer. When connecting smart lights to Alexa, the light or its controller must support the relevant connection; switching power through a basic timer does not create that compatibility.
A timer that cuts electricity also prevents a connected smart bulb from receiving commands while power is off. Decide whether scheduled power switching or continuous power with software scheduling better matches the specific equipment you own.
Troubleshooting
The sconce works manually but misses its schedule
Check the timer’s clock, current day, AM/PM selection, and automatic mode. Then inspect every saved program for an overlapping off event, and make sure the sconce is plugged into a controlled receptacle rather than an always-on outlet.
The timer switches, but the light stays dark
Turn the sconce’s own switch on and repeat the direct-outlet restart test. If an electronic control resets to off, the timer cannot operate that control for you; use a documented restart setting or a different compatible setup.
The light returns brighter than expected
Repeat the restart test at your preferred brightness. If the fixture does not retain that level, an ordinary on/off timer cannot restore it; choose between its restart brightness and another manufacturer-supported control method.
The LED glows or flickers while the timer is off
Some electronic controls pass a small current that can cause compatible-looking LEDs to glow or flicker. Check the timer manufacturer’s LED guidance, and stop using the combination if compatibility is not established; do not add improvised resistors or wiring modifications.
The plug connection feels loose or shows overheating
Stop using the setup. Discoloration, melting, burning odor, or a loose receptacle requires attention rather than another programming attempt; have a qualified electrician assess the receptacle or electrical fault.
Customize your 2026 lighting routine
Norafurnish lighting guidance puts room fit before extra controls. Once the schedule works, review the sconce’s position, light direction, and brightness so that switching it on improves the room rather than simply adding glare.
A timer does not normally dim a fixture. If adjustable brightness is your next priority, read the guide to connecting LED wall sconces to a compatible dimmer switch and keep plug-in controls distinct from hardwired work requiring an electrician.
Norafurnish offers personal email help with lighting questions. Have the exact fixture details and proposed timer specifications ready so the compatibility question is specific, rather than asking whether all wall sconces work with timers.
FAQ
Can any plug-in wall sconce work with an outlet timer?
No. A plug-in wall sconce must restart when electricity returns, and its electrical load and operating location must match the timer’s ratings. Test the restart behavior before programming a schedule.
Should I leave the wall sconce switch on?
Yes, leave the sconce’s own switch on during scheduled operation. The timer then controls whether electricity reaches the light; switching the fixture off prevents the timer from turning it on.
Do I need a smart plug in 2026 to schedule a wall sconce?
No. A compatible ordinary outlet timer can schedule a plug-in sconce without an app. A smart plug is relevant when you want supported connected features rather than basic timed power.
Can an outlet timer dim my wall sconce?
An ordinary on/off outlet timer does not dim a wall sconce. Dimming requires a compatible dimming control and a fixture or bulb designed to work with it.
Why does my touch-control sconce stay off after the timer starts?
Its electronic control can reset to off when power is interrupted. Unless the fixture has a documented restart setting, supplying electricity through the timer will not turn that control back on.
Can I use this setup for an outdoor wall sconce?
Only when the fixture, timer, receptacle arrangement, and connections meet the requirements for that location. Follow the manufacturers’ outdoor-use instructions and ask a qualified electrician about the installation’s protection requirements.
Will my timer remember its schedule after a power outage?
Schedule retention depends on the timer. Check its instructions for clock backup and program memory, then verify the clock and next switching event after an outage.
One last thing
Test what happens after power returns, not just when power switches off. A sconce that remembers its brightness makes a different evening light from one that restarts at full output, even when both technically work with the same timer.