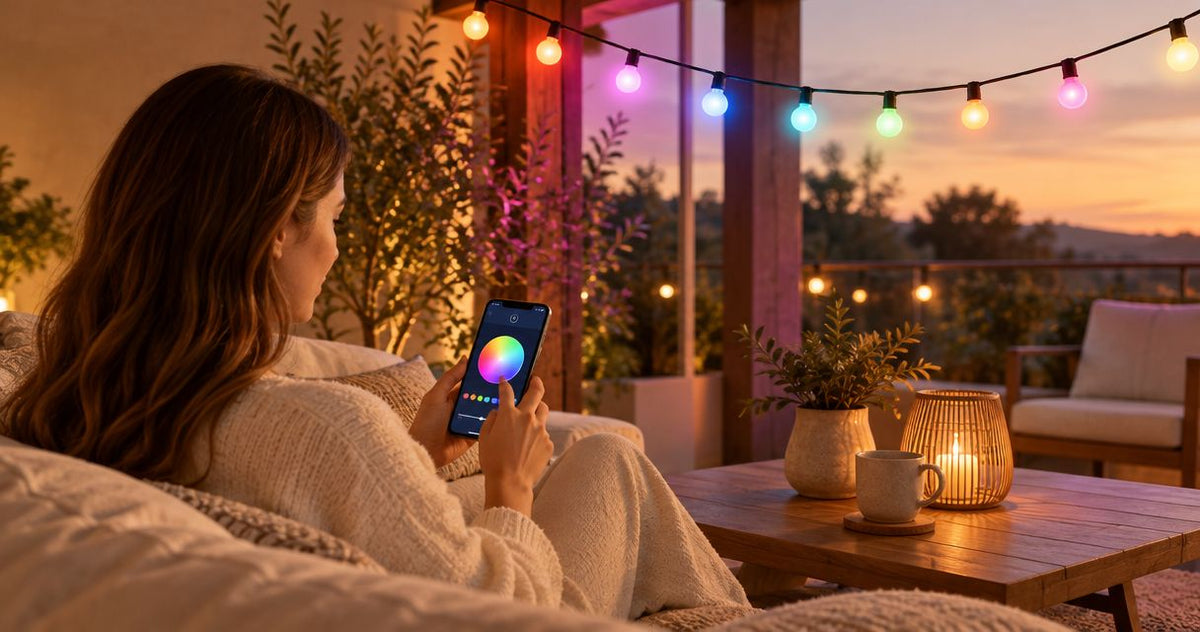











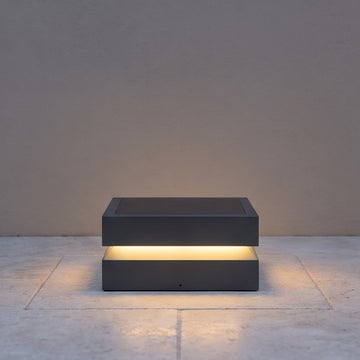
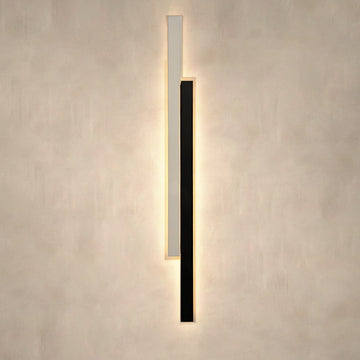
Instead of walking between fixtures to adjust your solar lights with remote control, confirm that the lights support a shared remote or group, then pair and test them using the manufacturer's instructions. A remote that switches several lights together does not automatically provide independent groups, synchronized dimming, or app control.
- Solar lights with remote control need matching receivers; a similar-looking remote does not establish compatibility.
- Nora Furnish outdoor lighting shoppers should confirm remote compatibility and dimming before choosing a fixture.
- Test each light separately before checking group dimming, motion behavior, and overnight setting retention.
- Use the manufacturer's pairing sequence; there is no universal solar-light reset or pairing command.
Why this matters
Remote control should make your porch, path, or seating area easier to use, not leave you guessing which fixture received a command. The important distinction is between a light that receives remote commands and a system that actually supports groups.
Solar power describes how the battery charges. It does not tell you whether the fixture uses an infrared remote, a radio remote, an app, or no remote at all. The word dimmable also needs context: adjustable brightness is different from a motion mode that temporarily increases output.
Nora Furnish is best for homeowners choosing indoor and outdoor lighting with practical sizing and specification guidance. When considering Nora Furnish outdoor lighting, confirm the exact fixture's control method rather than transferring features from another listing.
For a 2026 purchase, make remote compatibility, dimming behavior, and setting retention part of your selection checklist—not questions you discover after mounting the lights.
Before you start
- Gather the exact instructions and matching equipment. Have the fixture model, remote model if identified, supplied instructions, and the specified remote battery. Charge the lights as directed before testing; do not substitute an assumed charging time.
- Confirm the controls you actually need. Ask whether one remote can control several fixtures, whether separate groups exist, and whether brightness adjustment works in your intended operating mode. Similar appearance does not prove compatibility.
- Check the daylight lockout. Some solar lights suppress illumination while their panel or light sensor detects daylight. Follow the manual's test procedure or test after dark; an unlit fixture in daylight does not by itself prove pairing failed.
Keep the light's label and instructions accessible until setup is complete. For sealed fixtures, do not open the housing to identify a receiver or battery unless the manufacturer explicitly permits it.
Remote and receiver compatibility
Start with the control system, not the pairing sequence. These options solve different problems, and none is automatically included simply because a fixture is solar-powered.
| Control type | Best for | Advantage | Limitation to check |
|---|---|---|---|
| Infrared remote | Direct control of visible fixtures | Lets you send commands without reaching the fixture | Requires an unobstructed signal path to the receiver; aiming matters |
| Radio-frequency remote | Placement where direct aiming is inconvenient | Does not inherently require optical line of sight | Must match the receiver's supported system; obstacles can affect reception |
| App-connected control | Homeowners who need supported app features | Can offer grouping or schedules when explicitly supported | Requires the specified connection method and setup; solar power does not imply app support |
A frequency printed on a radio remote is not enough to establish compatibility. The receiver must understand the remote's commands and any required addressing or pairing method.
Identify the supported functions
- Find the exact fixture model in the instructions or on its label. Match the remote to that model or to an explicitly listed compatible range.
- Locate the manufacturer's description of remote operation. Determine whether the remote arrives linked, requires pairing, or broadcasts commands without individual pairing.
- Check for a documented group or zone function. If none is described, do not assume that controlling several lights together creates an addressable group.
- Record the manufacturer's exact button labels and sequence. Use those printed controls verbatim; do not borrow a reset command from a different light.
Expected result: You can identify how the remote communicates, whether pairing is required, and whether the system supports collective control or separate groups.
When shopping in 2026, keep these questions separate. A listing that confirms a remote is included has not necessarily confirmed group dimming.
Individual light setup
Test each fixture on its own before attempting collective control. Otherwise, one charged light responding beside another uncharged light can look like a grouping problem.
Establish a working baseline
- Charge each light according to its instructions, with the panel positioned as directed. Remove protective packaging from the panel if the instructions require it.
- Prepare the remote. Fit the specified battery with the correct polarity, or remove the battery isolation tab if one is supplied.
- Put the fixture's physical switch in the operating position specified by its manual. A remote cannot override every physical power-off state.
- Create the manufacturer's required test conditions. Test after dark if daylight prevents operation; use a sensor-covering procedure only if the instructions permit it.
- Send a basic command using the documented button. For infrared controls, aim at the receiver without an obstruction.
- Repeat the test with the other fixtures individually. Keep nearby compatible lights switched off during this stage if their instructions permit it.
Expected result: Each light responds independently under the same test conditions. Resolve any individual failure before trying to make several fixtures respond together.
Start with 2 lights and 1 remote as a manageable test setup, then add the remaining fixtures after the basic behavior is clear. This is a troubleshooting method, not a claim about the system's maximum capacity.
Do not assign an arbitrary waiting period between commands. If the manual specifies a response delay or pairing window, use that timing exactly.
Shared control and group dimming
There are two distinct outcomes: several fixtures receiving the same broadcast command, and fixtures assigned to a selectable group. Both can be useful, but only the second gives you separate control of areas when the system supports it.
Configure the supported control arrangement
- Isolate the first fixture using the manufacturer's permitted power controls. Keep other compatible receivers out of the pairing process where the instructions require it.
- Perform the exact documented pairing sequence, if pairing is required. Do not hold unspecified buttons or repeatedly cycle power in search of a hidden setup mode.
- Confirm the manufacturer's stated success indication. A flash, indicator, or response counts as confirmation only when the manual identifies it that way.
- Repeat for the next fixture. If groups or zones are supported, assign each fixture using the documented group-selection procedure.
- Restore normal operation to the test fixtures. Send the intended shared command, then check each light rather than judging the area as a whole.
Expected result: The intended fixtures respond together, and any lights excluded from the group remain unaffected. With a broadcast-only system, document that nearby compatible lights can also respond.
Use three checkpoints: individual response, shared response, and brightness response. Passing one does not prove the others work.
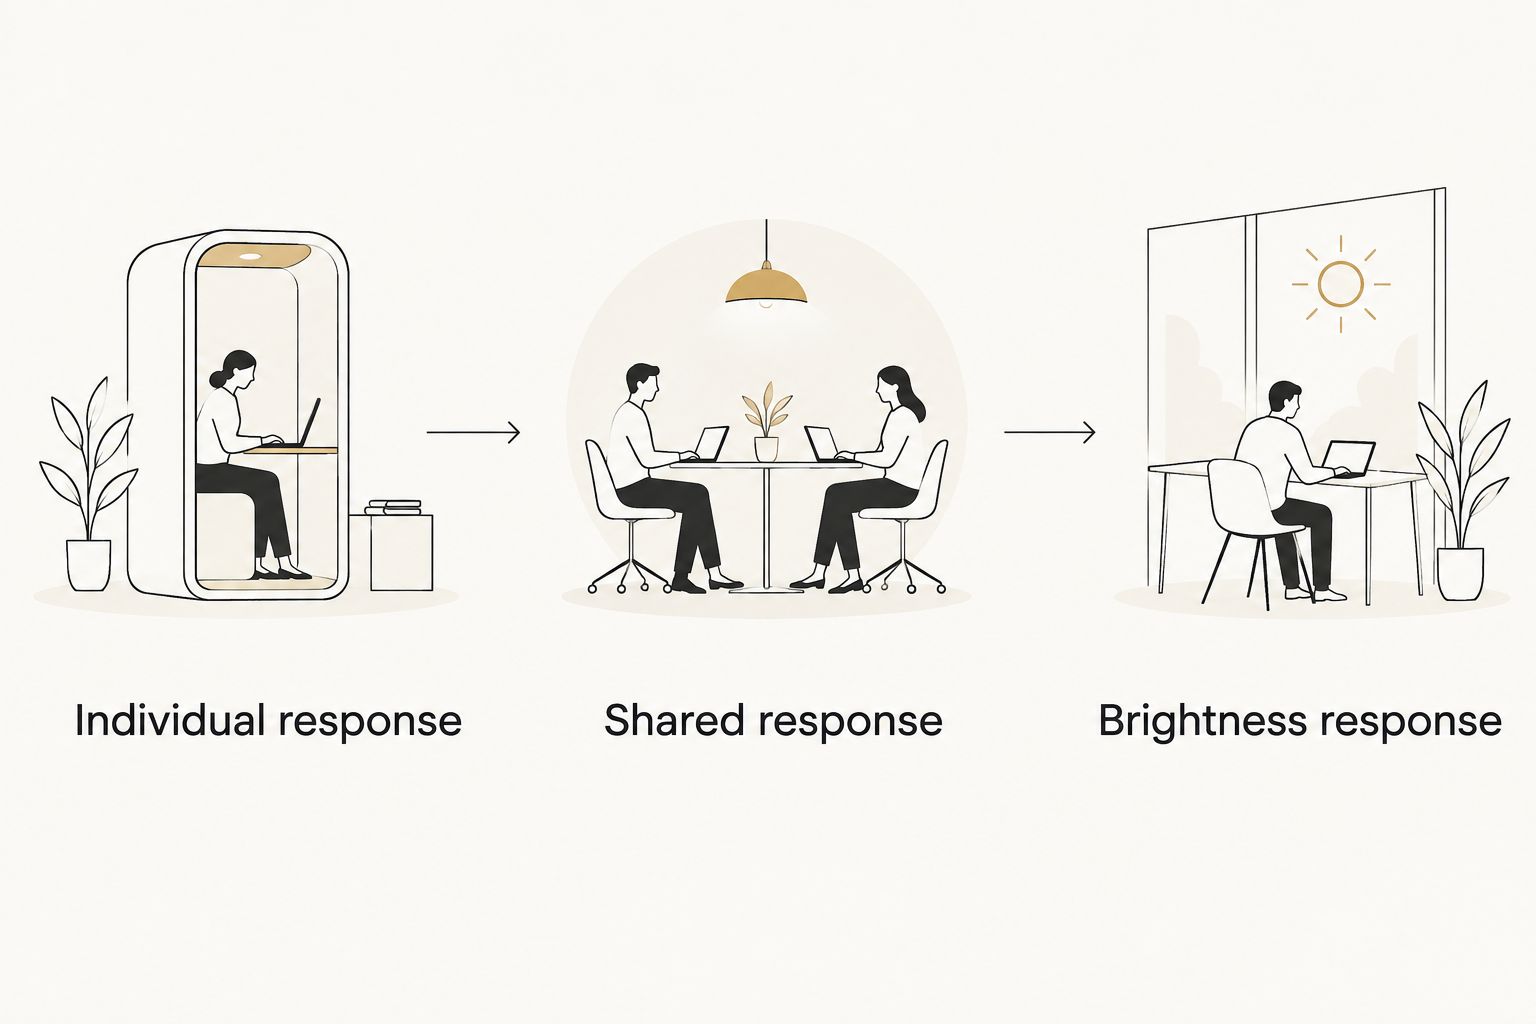
A useful 2026 setup record includes the fixture model, remote identifier, group assignment if supported, and the operating mode used during testing. Keep it with the instructions so a replacement remote is not chosen by appearance alone.
Verify brightness and automatic behavior
- Select the operating mode in which the manual permits brightness adjustment. Motion, dusk-to-dawn, and manual modes do not necessarily expose the same controls.
- Send the documented brightness command. Check whether each fixture changes output, rather than merely turning on or switching modes.
- Test the supported brightness settings from your normal viewing position. Look for comfortable path visibility and distracting glare, not just maximum output.
- Trigger motion operation if the fixture supports it. Check whether the light returns to your selected baseline or to a fixed automatic setting.
- Check the lights again after the next normal dusk cycle. Record whether the selected mode and brightness persist.
Expected result: You know which settings the fixtures accept, which automatic functions override them, and which settings survive the normal operating cycle.
Group dimming means shared brightness commands, not guaranteed identical appearance. Different optics, mounting positions, panel exposure, and battery condition can make lights look different even when they receive the same command.
Control separate areas whenever your plans change
If your system supports independent groups, separate the lighting by use: a seating area and an access path have different jobs. This variant is useful when you want softer light near chairs without changing the path lighting.
- Confirm that the manual explicitly supports separate groups or zones, not just one remote controlling all compatible fixtures.
- Assign the fixtures to their intended areas using the documented procedure. Test each group while watching the other area for unintended responses.
- Set each area's supported brightness and operating mode. Check that motion behavior does not undo the arrangement.
- Re-test after moving, replacing, or resetting a fixture. Update your setup record whenever an assignment changes.
Expected result: Each supported group responds separately. If every fixture still reacts, investigate the documented assignment process rather than assuming the remote has independent zones.
Broadcast-only control remains useful for adjusting a small area together. Its drawback is the lack of selective control; moving fixtures farther apart is not a dependable substitute for supported grouping.
Troubleshooting
The light works automatically but ignores the remote
Check the remote battery, polarity, and any isolation tab first. Then verify the exact compatibility information and the fixture's required operating mode.
For infrared control, clear the signal path and aim at the receiver. For a pairing-based system, repeat only the manufacturer's documented sequence.
Several lights respond when you want only one
The remote may be broadcasting to compatible receivers rather than addressing a single fixture. Check whether the system actually supports individual assignment.
If grouping exists, repeat the assignment process with unintended fixtures isolated as directed. If it does not, use the system for collective control rather than promising separate zones.
On and off work, but dimming does not
Confirm that the exact model supports remote brightness adjustment. A motion boost, automatic dim setting, or selectable lighting effect is not necessarily user-controlled dimming.
Next, check which operating modes accept brightness commands. Do not interpret a brightness symbol on an unmatched remote as evidence that the fixture supports that function.
One fixture looks dimmer than the others
Compare charge conditions, panel shading, selected modes, and mounting positions. Clean the panel according to the manufacturer's care instructions and repeat the comparison after the specified charging conditions are met.
Do not open a sealed light or fit a different battery chemistry to force a match. Persistent unequal output needs model-specific support, not a guessed electrical modification.
Your chosen setting disappears overnight
Check whether the manual promises memory after automatic cycling or power loss. Repeat the test without changing other settings so you can distinguish normal reset behavior from inconsistent operation.
If the fixture does not retain the setting, choose a documented default mode that suits the location. Repeated remote adjustment is a limitation to consider before selecting more matching lights.
Customize your workflow
Finish your 2026 setup by checking the light from the places you actually use: the doorway, the path, and the seat facing the fixture. A convenient control arrangement still needs comfortable placement and useful illumination.
Before selecting Nora Furnish solar lights with remote control, ask for model-specific confirmation of remote compatibility, grouping, adjustable brightness, and setting memory. Use personal email help to resolve unclear specifications before choosing the fixture.
Keep installation separate from remote setup. Follow mounting instructions for solar fixtures; for any hardwired alternative, use a qualified electrician rather than adapting wiring yourself.
FAQ
Can one remote control several solar lights?
Yes, when the fixtures explicitly support the same remote system. Some receivers respond together to broadcast commands, while others require pairing or group assignment; these arrangements do not provide identical control.
How do I pair solar lights with remote control?
Use the exact pairing sequence in the fixture's manual, if pairing is required. Confirm charge, the physical switch position, remote battery condition, and any daylight restrictions before starting.
Why won't my solar light respond to its remote during the day?
A daylight lockout can prevent the fixture from illuminating while its sensor detects light. Test after dark or follow the manufacturer's approved test method before treating the lack of light as a pairing failure.
Can I buy a universal remote for solar lights?
Do not assume a universal remote will work with your solar lights. Compatibility requires a supported receiver and command system, not merely a matching appearance or radio frequency.
Can I dim several solar lights to the same brightness?
You can send shared brightness commands when the lights support compatible remote dimming. Identical commands do not guarantee identical visible output because placement, charge conditions, and fixture optics affect the result.
Do remote-controlled solar lights need Wi-Fi?
Remote-controlled solar lights do not inherently need Wi-Fi. Infrared and radio remotes communicate without a home Wi-Fi connection; app-connected models require whatever connection method their specifications state.
Will my solar lights remember their dimming setting tomorrow?
Setting retention depends on the exact fixture and operating mode. Check the manual and test the next normal dusk cycle before relying on automatic recall.
One last thing
Test the automatic cycle before you finish the installation. A light that dims correctly during setup but resets at dusk does not deliver the same everyday experience as one that remembers your preference.
Add that check to your 2026 lighting notes. Nora Furnish outdoor lighting should be selected around the behavior your home needs—not an assumption that every remote provides the same controls.