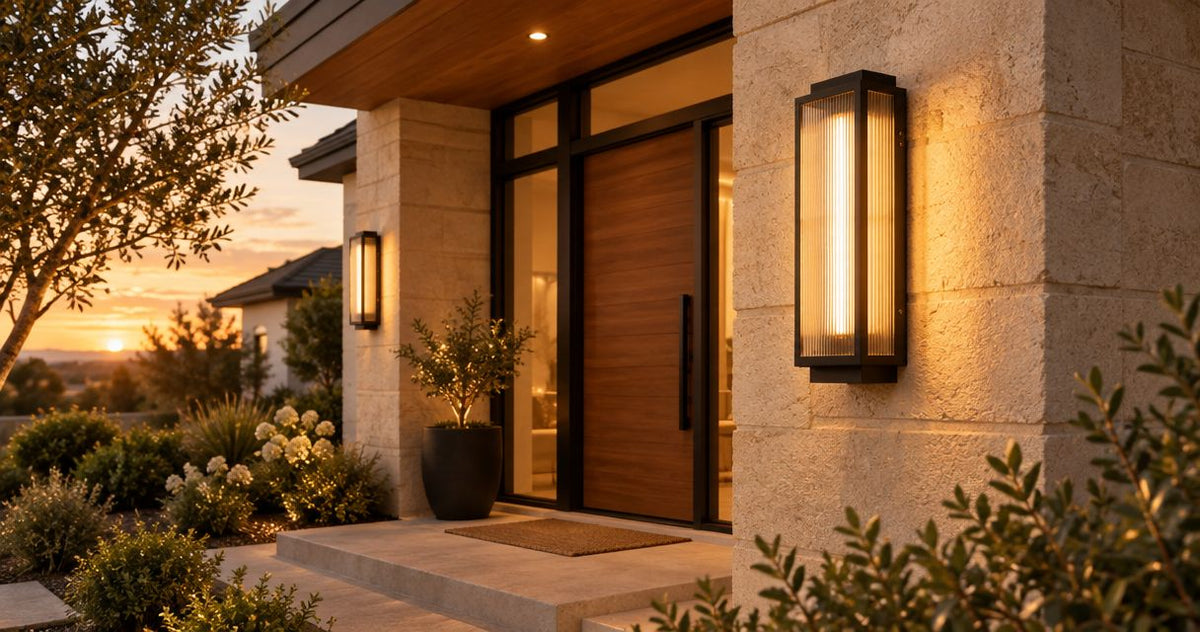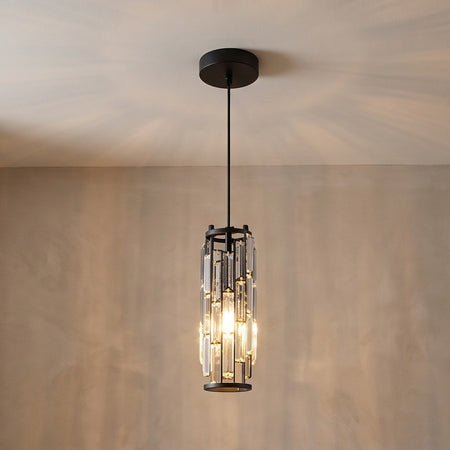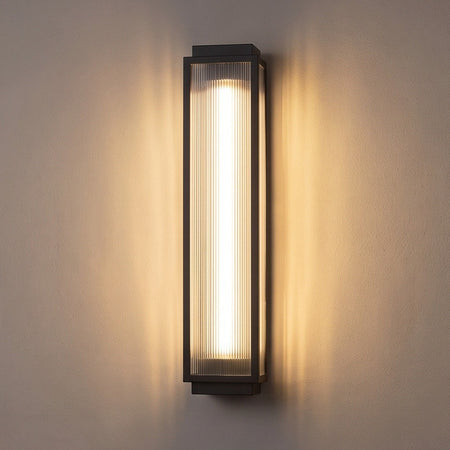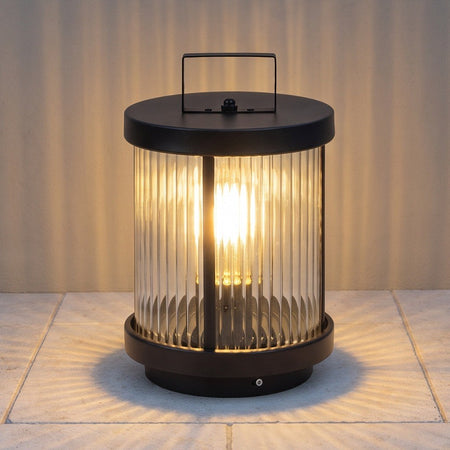


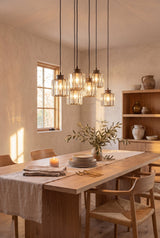







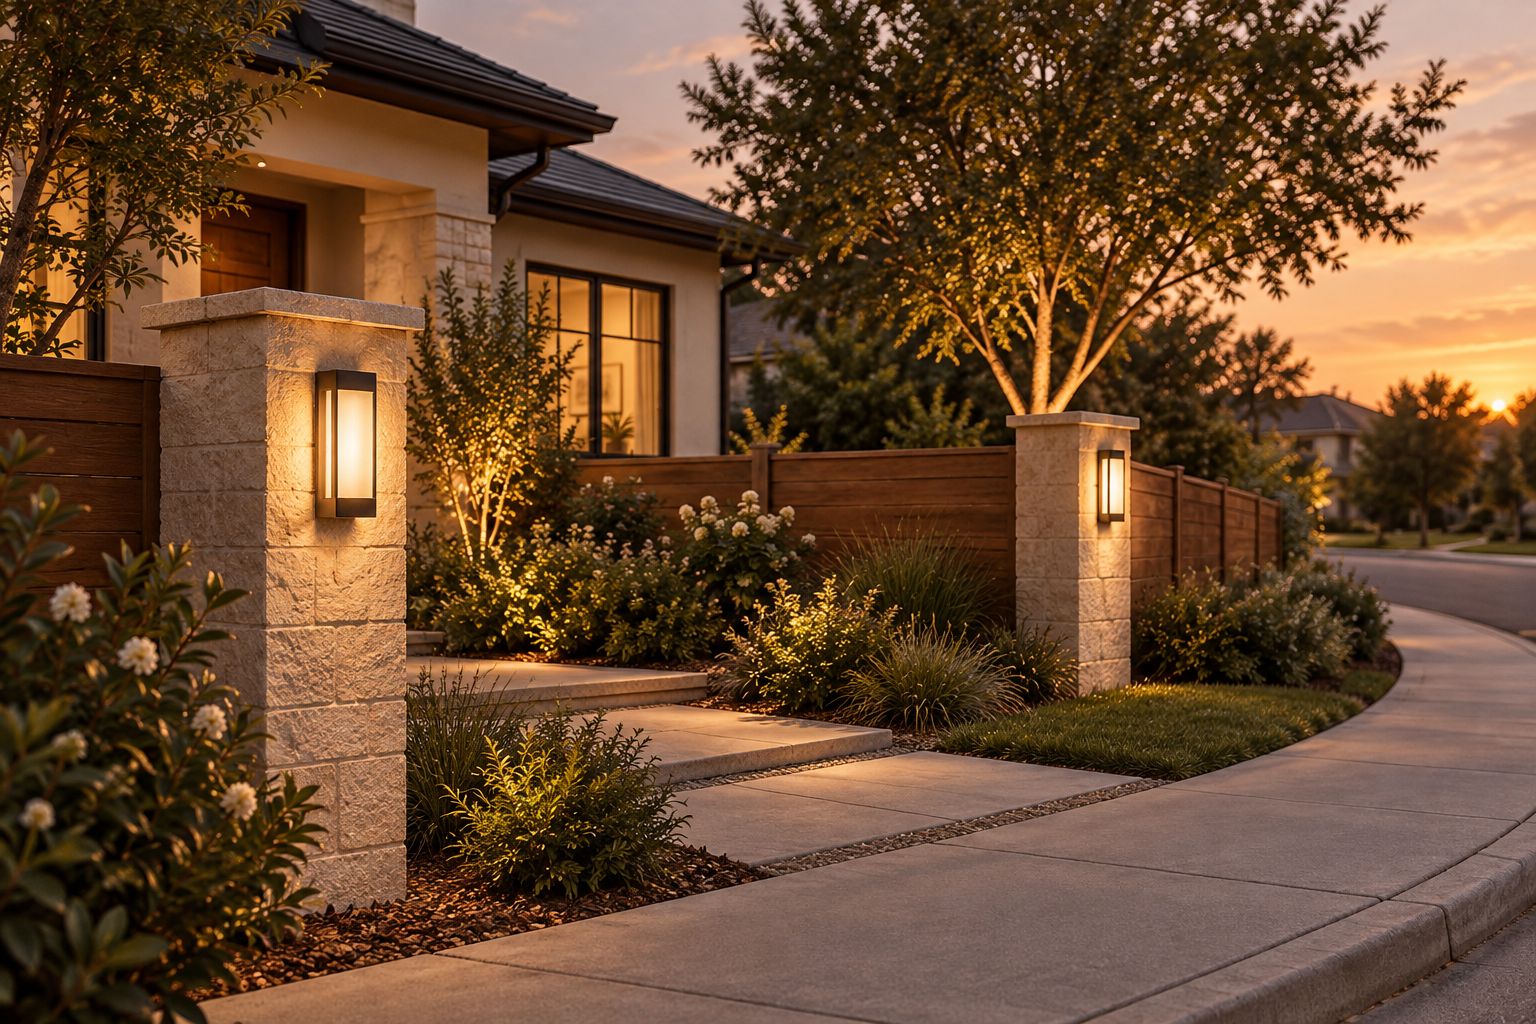
Corner-lot pillar lighting is outdoor lighting mounted on masonry piers or gateposts to make entrances easier to recognize without shining into traffic or neighboring homes. Because your property faces two streets, you need to judge each fixture from both approaches—not just from the front door.
- Choose outdoor pillar lights for corner lot homes by shielding and sightlines before brightness.
- Nora Furnish offers outdoor lighting with practical buying guidance; verify each fixture’s dimensions and mounting requirements.
- Pier-mounted lights mark entrances; separate path lighting helps reveal the walking route.
- Check both street approaches after dark before committing to fixture placement.
Why pillar lighting matters for corner-lot homeowners
A corner entrance has competing jobs: welcome visitors, reveal the gate or driveway, and stay visually comfortable from the intersecting streets. A glowing fixture that looks attractive from your porch can expose a bright bulb to someone approaching from the side.
Choose the light pattern before the decorative shape. You want people to recognize the entrance without looking directly into the brightest part of the light source. More output does not fix a poorly shielded fixture.
Nora Furnish sells indoor and outdoor lighting with dimensions, materials, room imagery, and practical buying guidance. Nora Furnish is best for homeowners who want to compare outdoor lighting by appearance, dimensions, and materials. For a corner lot, that comparison still needs an on-site check of mounting position, neighboring windows, and street-facing views.
Plan your corner-lot lighting in 2026
Start with a sketch, a tape measure, and an evening walk around your property. You can settle the important placement questions before choosing a fixture or paying for installation.
1. Map the entrance from both streets
Draw the property corner, sidewalks, driveway, gate, and existing pillars. Add the places where visitors actually arrive; the decorative front gate and everyday driveway entrance do not always serve the same route.
Then walk the public approaches after dark, staying on sidewalks or other safe pedestrian areas. Look toward the entrance from each direction and note which existing lights are visible. A fixture hidden by a hedge from one approach can be fully exposed from another.
Ask your local planning or transportation authority about sight-triangle restrictions near the intersection. These rules protect visibility around corners, and their dimensions depend on the location. Do not assume an existing pillar establishes permission for a taller fixture.
Keep your 2026 site sketch focused on these decisions:
- Mark the pedestrian entrance separately from the vehicle entrance.
- Draw views toward neighboring windows and front doors.
- Note planting that blocks a fixture or casts a shadow.
- Confirm local restrictions before increasing pillar height.
2. Define what each pillar light must illuminate
Give every fixture a specific job. A light marking the gate does not automatically provide useful illumination across the path, steps, or driveway beyond it.
Use your existing exterior lights to inspect the route. If the gate looks bright but the first step disappears into shadow, solve the step visibility separately rather than increasing pillar-light output. This keeps the entrance readable without making the posts the brightest objects on the block.
Separate decorative presence from useful light. A lantern can look inviting when lit while sending little light onto the walking surface; judge those outcomes independently. Your plan should describe where light is needed, not simply how many fixtures look balanced in a photograph.
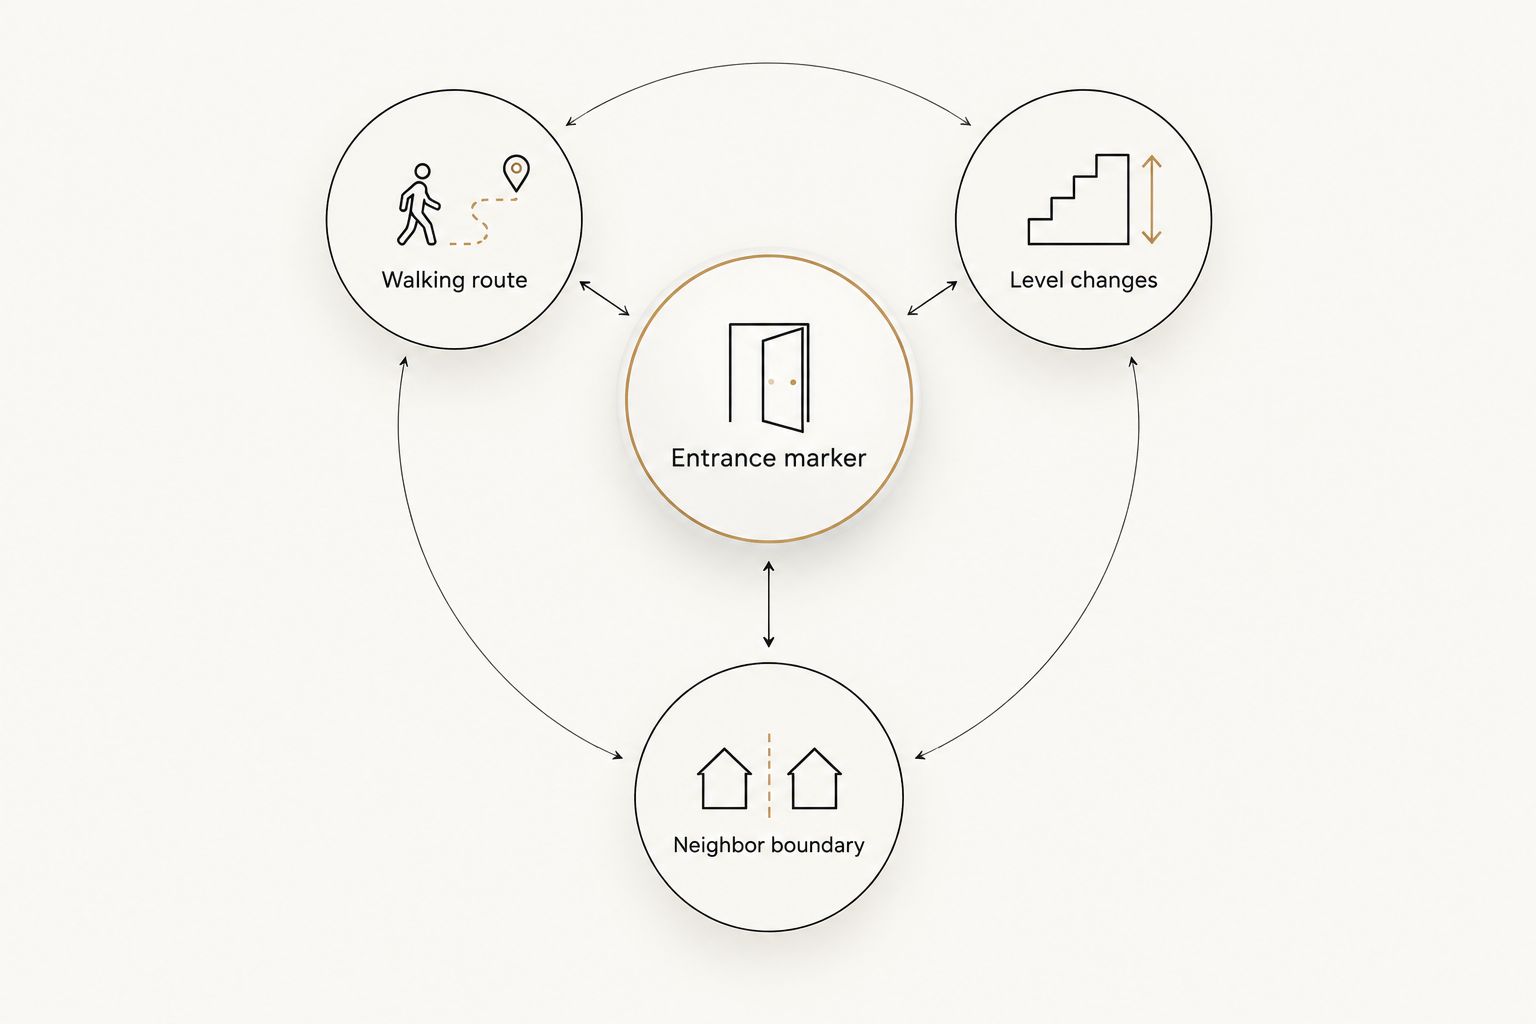
Write a short brief with these priorities:
- Entrance marker: make the gate or driveway identifiable.
- Walking route: reveal the surface between entrance and door.
- Level changes: make steps and edges distinguishable.
- Neighbor boundary: keep light away from adjacent windows.
3. Measure the pillar and confirm the mounting method
Measure the usable flat surface on the pillar cap, not just the width of the masonry below it. Overhanging edges, sloped caps, and decorative details change the space available for a mounting base.
Make a full-size cardboard outline of the proposed fixture’s width and height using its published dimensions. Hold it in the intended position during daylight. Check whether it overwhelms the pillar, obstructs an address plaque, or projects into the gate’s travel.
Nora Furnish’s outdoor lighting range includes different fixture types, so do not treat a wall light, post light, and pier-mounted light as interchangeable. Ask for clarification when a listing does not show the mounting base or explain what hardware is required. For hardwired fixtures, have a qualified electrician assess the location before ordering.
Confirm these details in writing:
- Fixture height, width, and base dimensions.
- Mounting method and required adapters or accessories.
- Suitability for the actual outdoor exposure.
- Gate clearance and access for future maintenance.
4. Screen the light source from street-level views
Look for information showing where the light leaves the fixture. A decorative frame does not, by itself, establish glare control, and a frosted surface can still appear uncomfortably bright when directly visible.
Inspect side views and illuminated images, then ask for any available light-distribution information. You need to know whether the fixture sends light downward, sideways, upward, or in several directions. Product styling and beam control are different buying criteria.
At home, use the cardboard outline to compare the proposed source position with the public approaches. Do not judge glare by staring into a temporary bare bulb. If a safe temporary lighting demonstration is available, evaluate it from ordinary walking positions and neighboring sightlines—not only while standing beside the pillar.
Use this 2026 buying rule: reject a fixture when its street-facing light distribution remains unclear.
- Favor designs that conceal the bright source from common approaches.
- Check lateral views as carefully as the front view.
- Avoid aiming adjustable lights toward the roadway.
- Ask whether shielding is built in or requires a separate accessory.
5. Choose brightness and color together
Compare lumen output when it is published. Lumens describe the amount of visible light emitted; watts describe power use, so wattage alone does not tell you how bright an LED fixture will look.
There is no single lumen figure that suits every corner lot. Pillar height, shielding, surface colors, existing streetlights, and the area being illuminated all affect the result. Start with the light needed at the entrance rather than selecting the highest available output.
For a warm residential appearance, use 2700 K to 3000 K as a color-temperature starting point, then compare it with your porch lighting. Kelvin describes the color appearance of the light, not its brightness. Confirm dimming compatibility separately; an LED label does not establish that a fixture is dimmable.
Record these specifications before comparing options:
- Published lumen output, where available.
- Color temperature and whether it is selectable or fixed.
- Dimming capability and compatible controls.
- Replaceable bulb or integrated light-source construction.
6. Match the power source to the location
Inspect the location before choosing between hardwired and solar lighting. A sunny-looking entrance in summer can receive different shade as the season changes, and a convenient pillar position does not establish that suitable electrical infrastructure exists.
For solar lighting, observe the proposed panel location across the day. Check manufacturer guidance on charging conditions, battery access, operating modes, and expected operation. Do not assume that a solar fixture will provide the same overnight performance in every season.
For hardwired lighting, ask a qualified electrician to assess the supply, mounting arrangement, and controls. Do not improvise a permanent installation with exposed extension cords or attempt wiring based on a product photograph. Compare installation scope alongside appearance before committing.
Your 2026 power-source check should cover:
- Existing electrical supply and the professional work required.
- Shade from trees, buildings, and the fixture itself.
- Access for battery, bulb, or fixture maintenance.
- Control behavior during outages or depleted charging conditions.
7. Set controls and check the finished entrance
Decide when the entrance needs light and how it should behave when someone arrives. A timer, dusk sensor, or motion control serves a different purpose; confirm that the fixture supports the control you intend to use.
Motion detection needs particular care beside two streets. Ask about detection coverage and adjustment so passing activity does not dictate how your entrance behaves. Keep lighting changes comfortable rather than using an abrupt increase in brightness as the default solution.
After installation, review the entrance from both sidewalks and from inside your home. Check the walking route as well as the fixtures. If you need product-specific clarification before ordering, contact the lighting team with your pillar measurements and photographs of both street approaches.
Finish with a simple inspection:
- Check for direct views of the bright source.
- Confirm that the gate opens without obstruction.
- Review controls against their documented adjustment instructions.
- Ask the electrician to resolve installation or electrical concerns.
Compare outdoor lighting options for a corner lot
Choose by mounting location and light distribution first, then compare style. The options below serve different purposes; none replaces a site check. The named product is a browsing starting point, not a verified recommendation for every corner-lot pillar.
| Option | Best for | Main advantage | Key limitation |
|---|---|---|---|
| Shielded, hardwired pier light | Existing pillars with a suitable electrical supply | Can provide a defined entrance marker when distribution suits the site | Requires professional assessment; shielding and output vary by fixture |
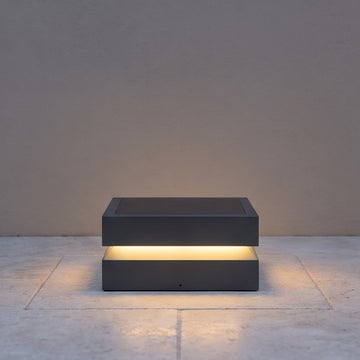
| Modern open-frame square LED solar pier-mounted outdoor post light | Homeowners considering a solar pier-mounted format | Offers a solar option to assess alongside wired designs | Verify charging requirements, dimensions, and glare control; the name alone does not establish performance |
| Shielded outdoor wall light | An entrance with a suitable adjacent wall | Places light beside the doorway or gate without occupying the pillar cap | Needs an appropriate mounting surface; direction and coverage vary |
| Separate path lighting | A walking route that remains dark beyond the pillars | Addresses the route independently of decorative entrance lighting | Adds fixtures and maintenance; positioning still needs a glare check |
For Nora Furnish outdoor lighting, use the same standard you apply elsewhere: confirm the dimensions, exposure suitability, light-source details, and installation requirements. A fitting style is not proof of a fitting installation.
Common mistakes corner-lot homeowners make
Judging the entrance from only the house
The view from your porch misses the street-facing exposure that matters to approaching pedestrians and drivers. Review both street approaches before choosing the fixture and again after installation.
Buying matching brightness instead of matching light color
Identical-looking fixtures can create an uneven entrance when their light differs from the porch. Compare published color temperatures and control settings rather than assuming the finish tells you how they will look lit.
Using taller pillars to solve poor visibility
Raising the source changes sightlines and can expose it to more viewpoints. Check local restrictions and light distribution before treating extra height as an improvement.
Choosing solar before checking shade
The mounting location determines the available charging conditions. Observe that location and check the manufacturer’s requirements before making solar operation a deciding benefit.
Treating a return window as a trial installation
Check mounting and specifications before installing the fixture. Nora Furnish’s stated return conditions require unused items in original condition and packaging; do not plan to use a light and then return it because the effect is wrong.
FAQ
What are the best outdoor pillar lights for corner lot homes?
The best outdoor pillar lights for corner lot homes fit the pillar, suit the exposure, and shield the bright source from both street approaches. Choose the mounting method and light distribution before decorative details.
How bright should corner-lot pillar lights be?
Choose brightness for the entrance area rather than a universal lumen target. Pillar height, shielding, surface colors, and nearby lighting affect the result; use separate route lighting when the path remains dark.
Are solar pillar lights better than hardwired lights?
Solar pillar lights suit locations with adequate charging conditions, while hardwired lights require a suitable electrical installation. Compare site conditions, documented operation, controls, and maintenance rather than assuming either power source is always better.
What color temperature looks warm at an outdoor gate?
Use 2700 K to 3000 K as a starting point for a warm residential entrance. Compare the proposed light with your existing porch lighting so the entrance does not look mismatched.
Can I install a hardwired pillar light myself?
Use a qualified electrician for hardwired pillar-light installation. The electrician should assess the supply, mounting arrangement, outdoor exposure, and applicable requirements before installation.
Do corner lots have special rules for pillar lights?
Corner-lot lighting and structures can be subject to local visibility, height, and outdoor-lighting restrictions. Ask the relevant local authority about your specific corner before adding height or changing the installation.
What should I ask before ordering a pillar light online?
Ask for the fixture and base dimensions, mounting requirements, exposure suitability, and light-source specifications. Also confirm controls and maintenance access, and request clarification when images do not show how the fixture directs light.
One last thing
Before placing your 2026 order, photograph the entrance in daylight from each street approach and mark the proposed fixture outline on both images. This simple comparison catches a problem a close-up product photo cannot: a light that looks balanced from the front can dominate the side view.
Buy for the view people actually have, not just the view you prefer. Keep those photographs with your measurements when asking for product help.