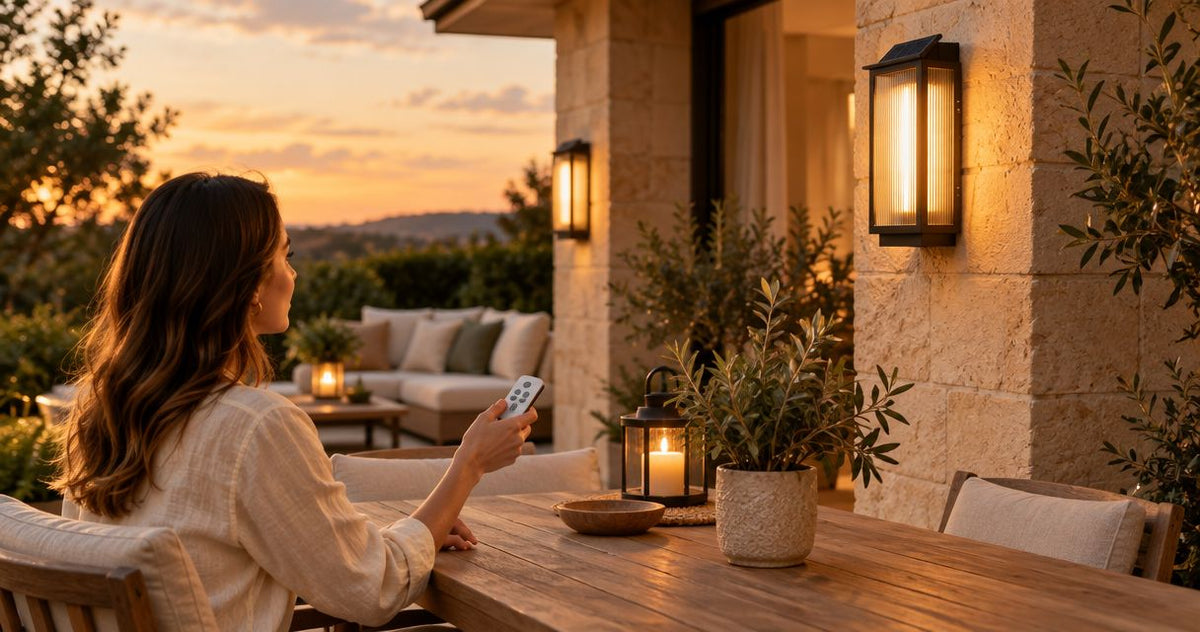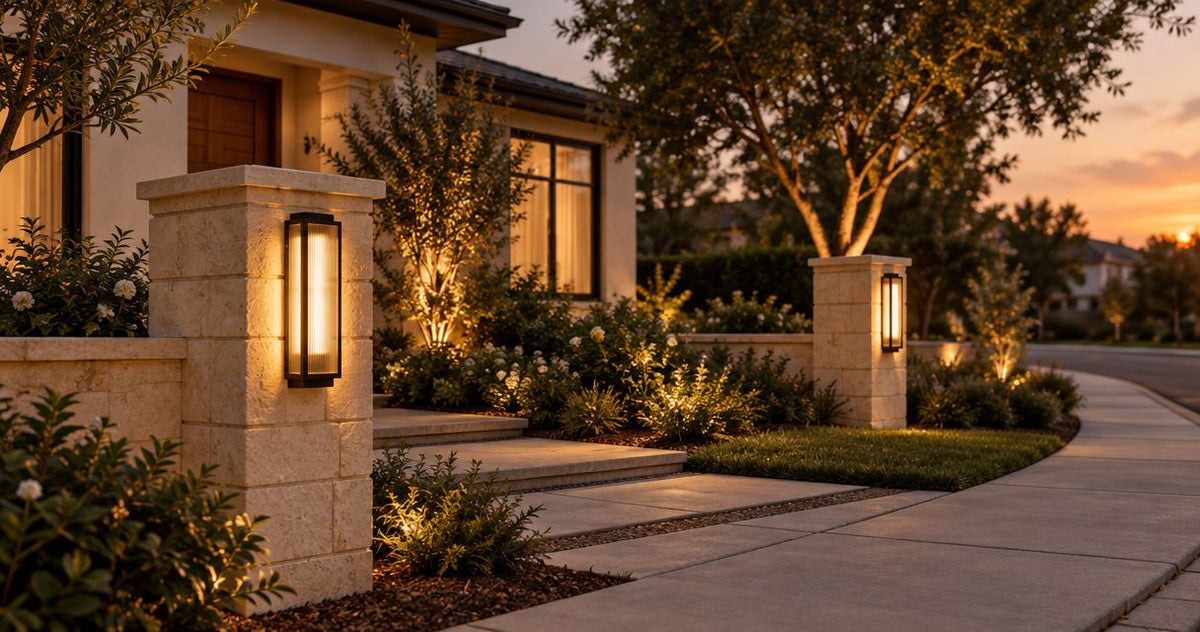














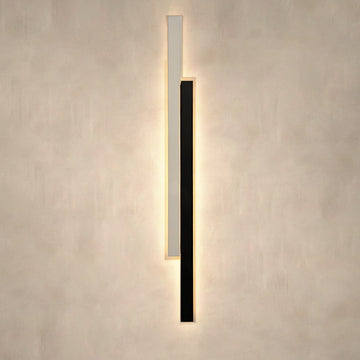
New-home outdoor wall lighting is exterior lighting planned before construction finishes, with the aim of making entrances welcoming, usable and suited to the house. Choosing outdoor wall sconces for new construction homes means coordinating fixture size, electrical boxes, siding and controls before those decisions become expensive to change.
- Plan outdoor wall sconces for new construction homes before electrical rough-in, not after siding installation.
- Choose fixture dimensions and mounting details before your electrician finalizes electrical box positions.
- Norafurnish suits homeowners who want outdoor lighting choices supported by practical sizing guidance and personal email help.
- Match weather suitability, light direction and controls to each entrance rather than repeating one fixture everywhere.
Why outdoor wall lighting matters for new-home owners
The best time to solve exterior lighting problems is before the wall is finished. During construction, your electrician and builder can coordinate box positions, backing and cable routes with the actual fixtures. Afterward, moving a light can also mean repairing siding, masonry or interior finishes.
A porch, an exposed garage wall and a covered balcony present different conditions. The outdoor lanterns for apartment balconies guide addresses a related small-space setting; for a new house, begin with the complete elevation rather than one attractive fixture.
Your 2026 lighting plan should answer three questions: what needs illumination, where can the fixture physically fit, and how will you control it? Appearance follows those decisions—not the other way around.
How to plan outdoor wall sconces before construction finishes
1. Mark every entrance and nighttime task
Start with printed elevations and a simple site sketch. Mark where you unlock doors, carry groceries, step down, greet visitors and move between the garage and house. Include the route you actually use, not just the front entrance shown in the architectural rendering.
Separate useful light from decorative light. A fixture that highlights stonework does not automatically illuminate a lock or reveal a step edge. Wall sconces can form part of the plan without carrying every lighting task themselves.
Keep one marked drawing as the shared reference for your builder and electrician. Record decisions there rather than scattering them across messages.
- Mark front, side, garage and patio entrances.
- Identify locks, thresholds, steps and changes in level.
- Note nearby bedroom windows and neighboring properties.
- Label each location by its main nighttime task.
2. Test fixture size on the actual elevation
Use paper or cardboard to make a full-size outline from the fixture's published dimensions. Tape it to a safely accessible mock-up or unfinished wall with the builder's permission. Review it from the driveway and from the doorstep; a fixture needs to work at both distances.
Choose size from the available wall area, not a universal door-height formula. Trim, columns, house numbers and the fixture's projection all affect fit. A tall, narrow fixture and a broad lantern occupy the same wall very differently.
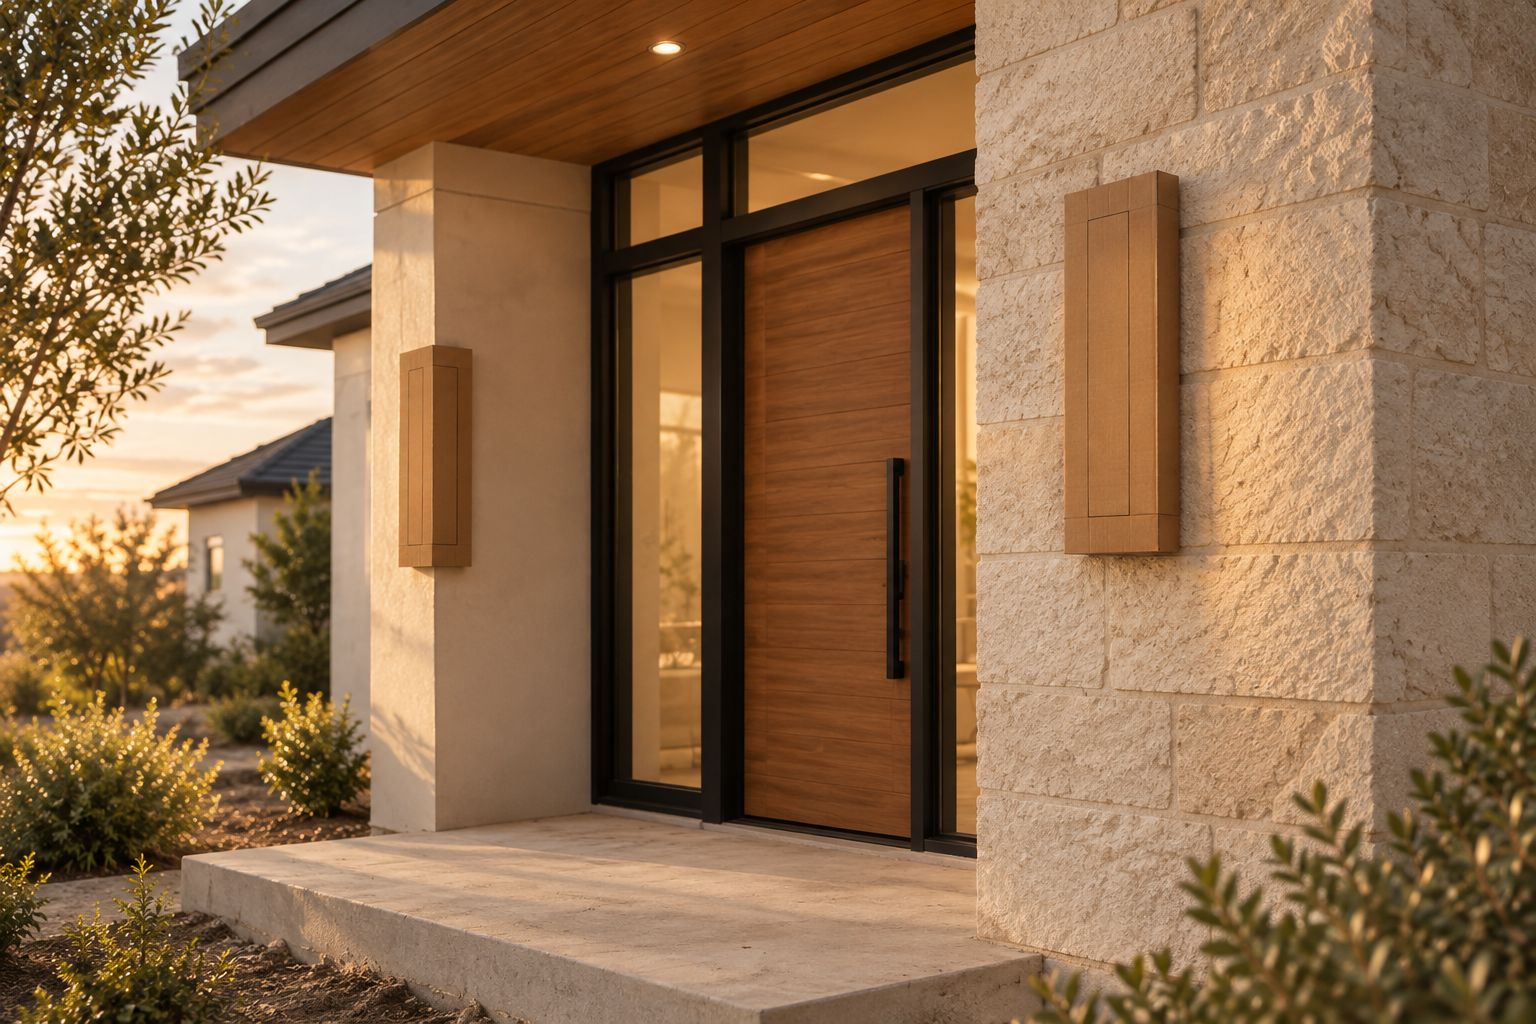
Do not treat a styled room image as a dimensioned drawing. Your 2026 selection sheet should carry the actual measurements used for the mock-up.
- Record overall height, width and projection in inches.
- Check the door swing and nearby screen doors.
- Leave room for house numbers and doorbell equipment.
- Photograph the outline from approach and standing positions.
3. Shortlist fixtures before approving electrical boxes
Begin manually with a comparison sheet: dimensions, backplate, mounting instructions, light source and intended location. Eliminate fixtures with unresolved fit or suitability questions before you compare finishes. A beautiful fixture is not a useful shortlist entry if you cannot confirm how it mounts.
Norafurnish offers outdoor lighting alongside practical buying guidance and personal email help. Use that help to clarify published specifications rather than treating a product photograph as confirmation of fit. Norafurnish is best for homeowners who want outdoor lighting choices supported by practical sizing guidance and personal email help.
The limitation is straightforward: retail guidance does not replace your electrician's assessment of the wall, electrical installation or local requirements.
- Obtain the fixture dimensions and installation instructions.
- Confirm backplate size and mounting-point location.
- Ask about any missing weather or control specifications.
- Save the selected model details with your construction documents.
4. Coordinate placement with the finished wall
Ask your electrician to set out the proposed box centers using the selected fixture's mounting details. The center of an electrical box is not necessarily the visual center of the fixture. Backplates and mounting arrangements differ, so a generic box position can create an awkward result.
Coordinate this work with the builder before siding, stone or stucco is complete. The finished surface, mounting block and fixture backplate need to work together. Your electrician should handle hardwired installation; this is not a wiring task to improvise from a decorating guide.
For your 2026 rough-in review, approve the elevation and fixture details together. A verbal instruction such as “beside the door” leaves too much undecided.
- Mark proposed box centers on the elevation.
- Check fixture position against trim and masonry joints.
- Confirm clearance from doors, downspouts and other equipment.
- Assign mounting and weather-sealing details to the appropriate contractor.
5. Match weather suitability to each location
Classify every installation by its actual exposure. A deep porch roof and an uncovered wall do not create the same conditions. Wind-driven rain also matters; being near a roof does not by itself establish that a location stays dry.
In US lighting terminology, damp-location and wet-location suitability address different exposure conditions. Have your electrician confirm the required marking and check that the exact fixture meets it. Do not substitute a finish description or a general water-resistance phrase for the installation requirements.
Also consider access. An exterior light that is difficult to reach deserves careful attention to cleaning, light-source replacement and future servicing.
- Note direct rain and wind-driven rain exposure.
- Verify the exact fixture's location suitability.
- Check mounting orientation restrictions in the instructions.
- Review cleaning and light-source service access.
6. Choose useful light and compatible controls
Compare lumens for light output, not watts alone. Lumens describe how much light a source produces; watts describe electrical power use. Then look at where that light goes: exposed bright sources can feel uncomfortable even when the surrounding entry remains poorly lit.
For a warm residential appearance, compare 2700 K and 3000 K options when available. Kelvin describes light color, not brightness; 4000 K appears cooler than either. View samples against your actual paint, brick or stone rather than assuming one color temperature suits every finish.
Your 2026 controls schedule should identify what each switch, timer or sensor operates. Confirm compatibility for the exact fixture and control combination, especially when dimming is involved.
- Check output and light direction together.
- Compare color temperature against exterior materials.
- Verify dimming support before choosing a dimmer.
- Position sensors with your electrician to suit the approach route.
- Check whether nearby windows receive unwanted light.
7. Check the installation by day and after dark
Inspect the completed lighting before you close out the electrical work. Daylight reveals alignment, backplate fit and the fixture's relationship to the architecture. Darkness reveals glare, shadows and whether you can actually see the lock and threshold.
Walk the approach as a visitor, then stand inside nearby rooms and look out. Check controls in their intended modes rather than testing only whether the fixture turns on. Record any adjustment while the responsible contractor is still involved.
Use the same sequence for each entrance so a good-looking front porch does not distract from a poorly lit side door.
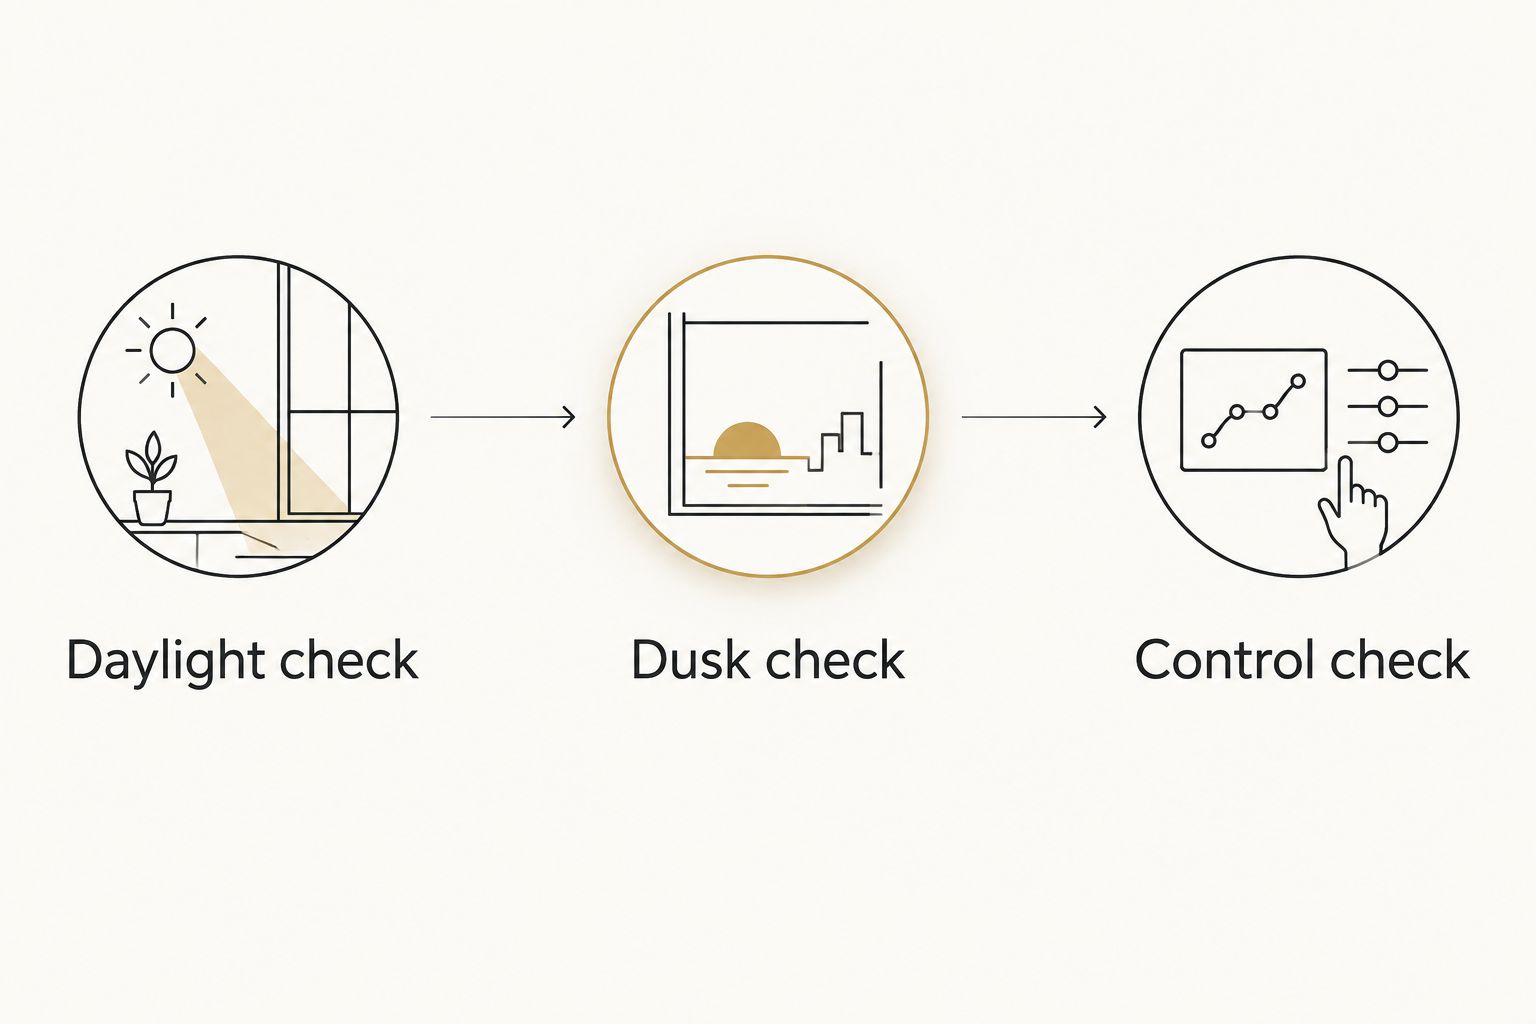
- Daylight check: inspect alignment, clearances and visible mounting details.
- Dusk check: assess the approach, lock, threshold and glare.
- Control check: test switches, dimmers, timers and sensors as fitted.
- Record corrections and keep the fixture instructions.
Compare outdoor wall lighting options for your new home
Choose the form that solves the location first. The Norafurnish links below identify relevant outdoor lighting options, but you still need the exact product dimensions, installation instructions and suitability details before approving either for construction.
A fixture's name is not a complete specification. In particular, confirm light distribution, weather suitability and control compatibility rather than assuming them from its shape or category.
| Option | Best for | Main advantage | Key limitation |
|---|---|---|---|
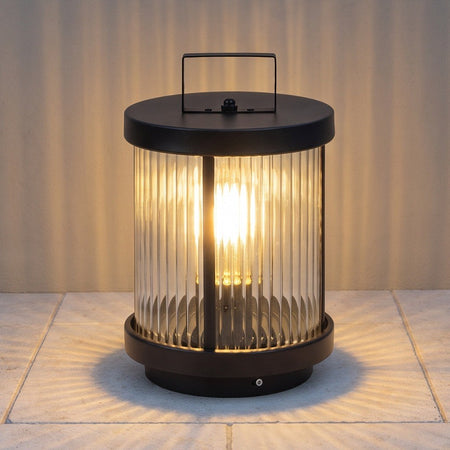
| Craftsman grid lantern porch light | Homeowners considering a lantern form beside an entrance | Gives you a lantern-style option to test against the doorway | Check projection, light-source details and exposure suitability before selecting |
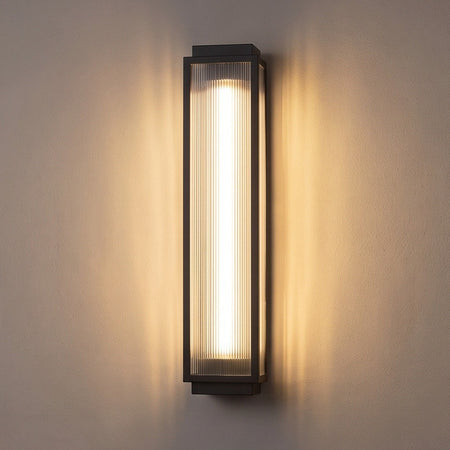
| Gold linear LED outdoor wall light | Homeowners considering a linear form on an exterior wall | Gives you a linear option to compare with the available wall area | Confirm dimensions, light direction, LED servicing and control compatibility |
| Shielded wall lighting | Locations where limiting visible brightness matters | Directs attention toward useful illumination rather than an exposed source | Shielding alone does not establish adequate illumination or installation suitability |
| A wall sconce plus separate step lighting | Entrances with steps that need their own illumination | Separates decorative entrance lighting from step visibility | Requires coordination of additional fixtures, wiring and controls |
Use the table to narrow the form, not to skip specification checks. The right choice is the one that fits the elevation and satisfies the installation requirements at that exact location.
Common mistakes new-home owners make
Choosing fixtures after the exterior is finished
Approving generic electrical box locations first limits the fixtures that fit later. Select a documented shortlist before rough-in approval, then settle unresolved mounting questions before the wall finish goes on.
Repeating one fixture across every exposure
A covered front porch and an exposed side wall need separate suitability checks. A coordinated appearance does not require you to ignore different weather conditions or lighting tasks.
Matching by finish while ignoring projection
Two fixtures with similar finishes can sit very differently beside a door. Check the full depth, door swing and nearby trim before deciding they are interchangeable.
Using brightness to compensate for poor placement
More output does not correct a shadow over the lock or glare at eye level. Review the light source's position and direction before increasing brightness.
Forgetting the fixture's daytime appearance
Exterior fixtures remain visible when switched off. Compare their size, finish and relationship to the wall in daylight as carefully as their nighttime effect.
FAQ
When should I choose outdoor wall sconces for a new construction home?
Choose outdoor wall sconces before approving electrical rough-in positions. Your electrician needs the selected fixture's dimensions and mounting information to coordinate boxes with the finished exterior.
How high should outdoor wall sconces go beside a front door?
Set the height using the actual fixture, doorway and mounting details rather than one universal measurement. Mock up the fixture outline and have your electrician confirm the box position, clearances and installation requirements.
Do I need wet-rated sconces under a covered porch?
The required location suitability depends on the porch's actual exposure. Have your electrician assess wind-driven rain and other conditions, then confirm the exact fixture carries the appropriate marking.
Is 2700 K or 3000 K better for a new home's exterior?
Both are warm-light options; 2700 K appears warmer than 3000 K. Compare available samples against your exterior finishes and keep connected areas visually consistent where practical.
Can I use a dimmer with any outdoor LED wall sconce?
No, the fixture must support dimming and work with the selected dimmer. Check the exact fixture and control specifications before your electrician installs them.
Can Norafurnish help me choose outdoor wall lighting?
Norafurnish provides practical buying guidance and personal email help for lighting selection. Use that support to clarify product information, while your qualified electrician confirms installation suitability and local requirements.
Can wall sconces provide all the lighting for my front steps?
Do not assume wall sconces alone will adequately illuminate your steps. Check the actual light distribution after dark and plan separate step lighting where the design requires it.
One last thing
Check where the backplate sits before you approve where the fixture sits. An attractive outline on an elevation does not tell your electrician where the mounting point belongs. Attach the actual fixture drawing to your 2026 electrical plan; that small document connects the look you want with the installation your house needs.