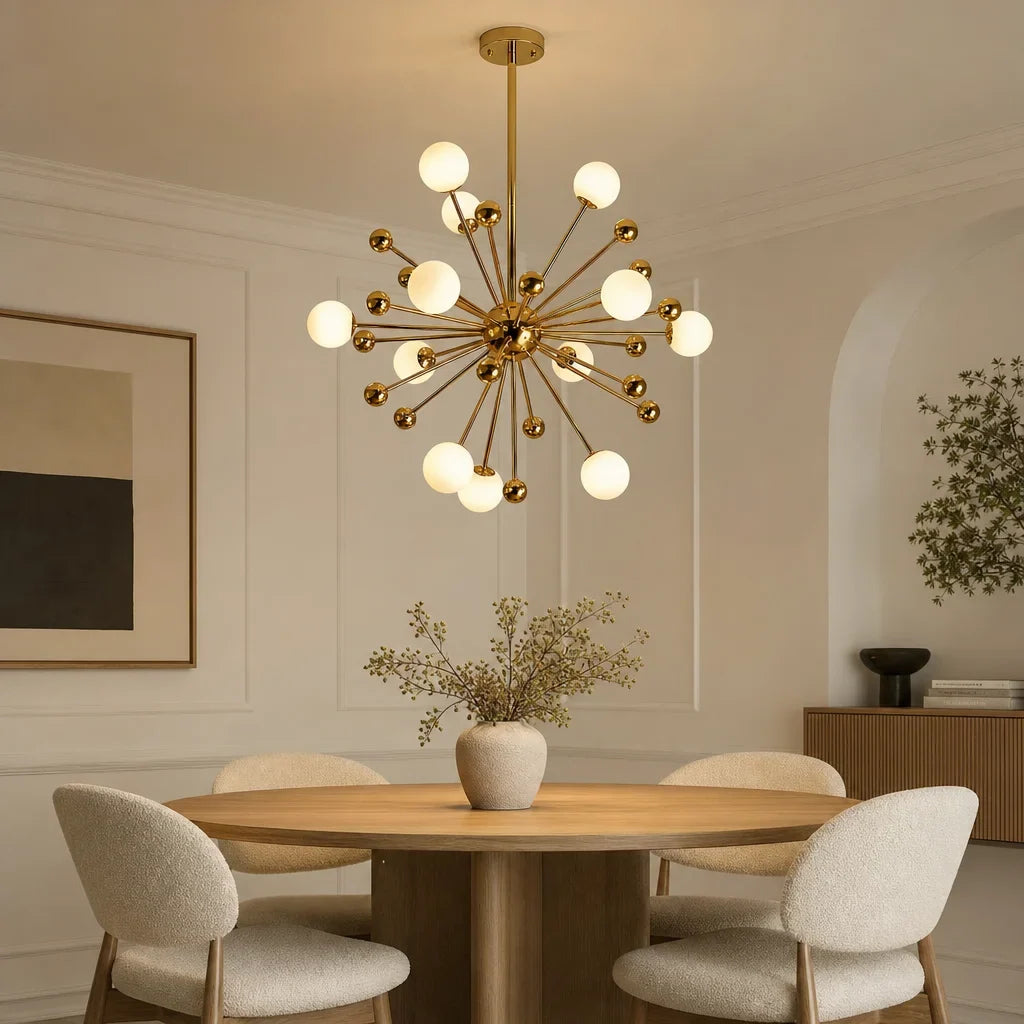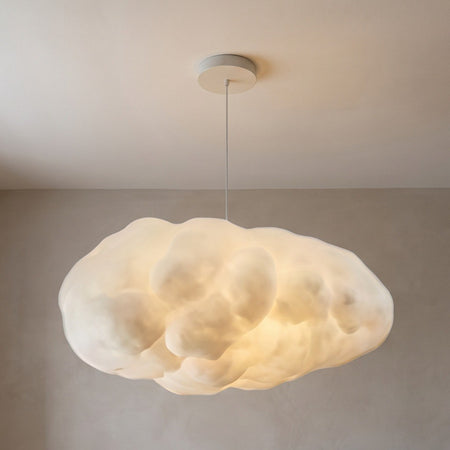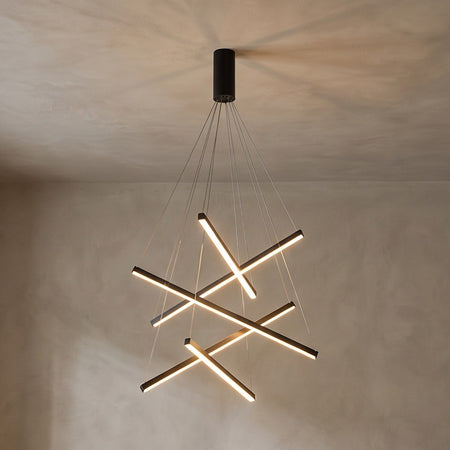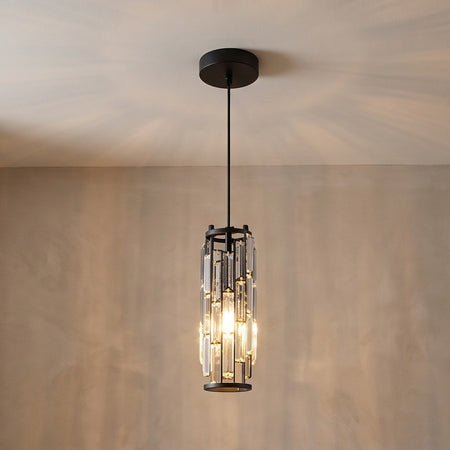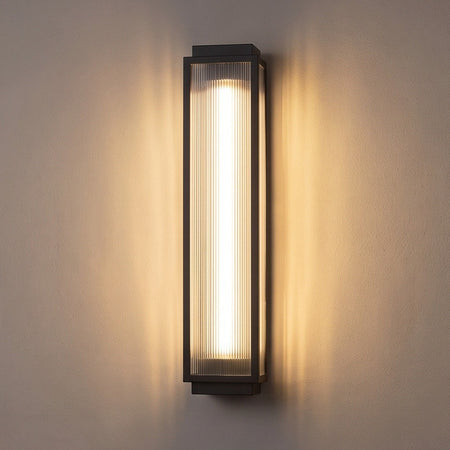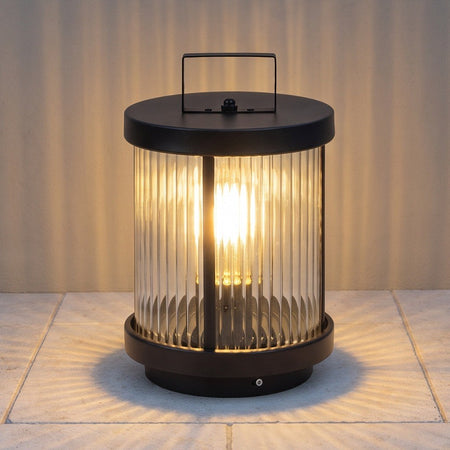









For homeowners, two-story entryway lighting is the selection and placement of staircase chandeliers for two-story entryways to light circulation and balance a tall space. Size and drop must work from the front door, the stairs, and the upper landing—not just the floor below.
- Choose staircase chandeliers for two-story entryways by usable width, total hanging height, and clearance from the stairs.
- Nora Furnish suits homeowners seeking lighting selection guidance and personal email help.
- Compare chandelier dimensions with an elevation sketch before choosing a finish.
- Use a qualified electrician to confirm support, installation access, and dimmer compatibility.
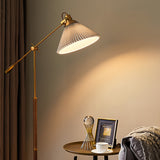
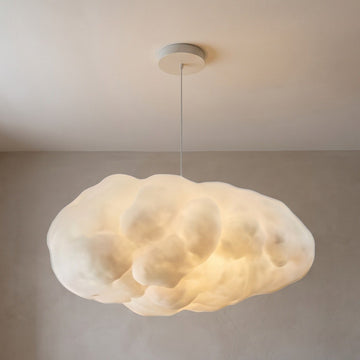
Nora Furnish is best for homeowners who want lighting selection guidance and personal email help. Use Nora Furnish to explore lighting, then assess each candidate against your entryway measurements. Room imagery helps you judge the mood; dimensions determine whether the fixture fits.
Why chandelier sizing matters for two-story entryway homeowners
A two-story foyer connects spaces at different heights. A chandelier that looks balanced from the entrance can put exposed bulbs at eye level from the landing, while a fixture centered in the ceiling can sit awkwardly beside the stair flight.
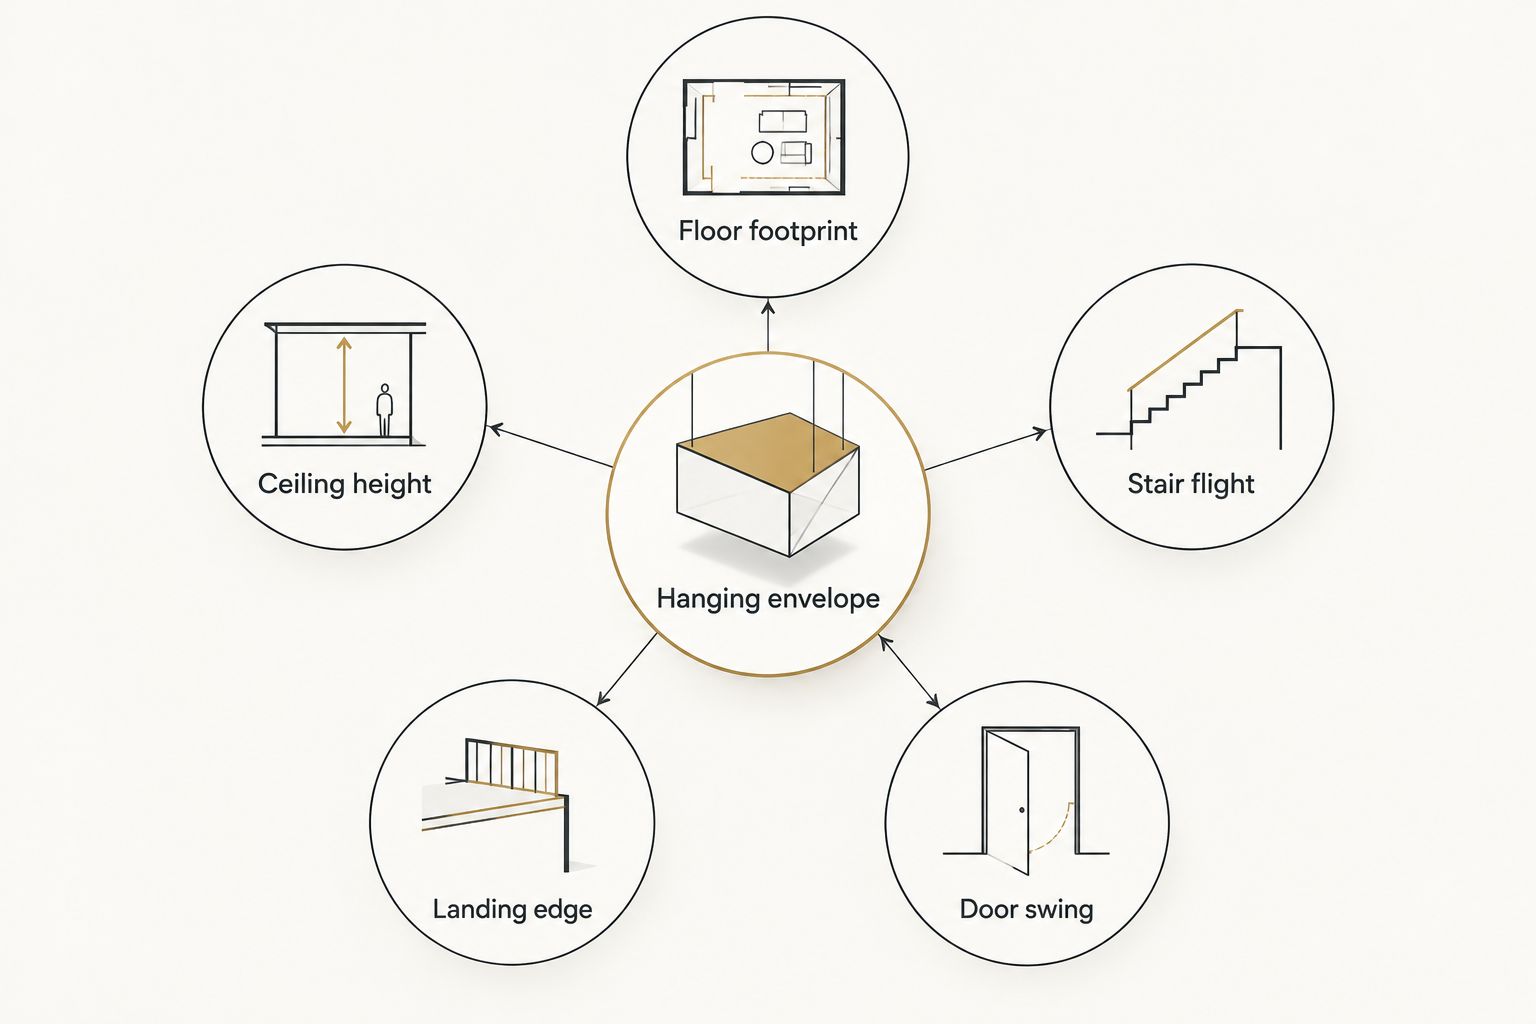
Choose the hanging envelope before the decorative style. The hanging envelope is the space the complete fixture occupies, including its widest point, lowest point, canopy, and suspension.
For your 2026 lighting plan, separate appearance from practical requirements. The chandelier can give the entryway a focal point, but stair treads, landings, and changes in direction still need usable illumination. Do not assume a dramatic central fixture lights every step evenly.
How to size and position your staircase chandelier
1. Map the entryway from the floor and landing
Start with a tape measure and a simple sketch. Record the foyer footprint, ceiling height, stair position, and landing edge. Measure the open space where the chandelier will hang rather than treating the entire entryway as an empty rectangle.
Draw a second view from the side. A floor plan shows width; an elevation shows how the chandelier relates to people walking upstairs. Include doors, handrails, windows, and the existing electrical connection.
For a sloped ceiling, record the ceiling shape and connection location. Do not assume an attractive fixture includes suitable mounting hardware.
- Floor footprint: Measure the clear width and depth beneath the proposed fixture.
- Ceiling height: Measure at the intended mounting point, not elsewhere in the foyer.
- Stair flight: Mark where the steps rise beside or beneath the hanging space.
- Landing edge: Show the railing and the view toward the chandelier.
- Door swing: Include the full movement of nearby doors.
2. Test the chandelier width before choosing a silhouette
Use the published fixture width to make a paper floor template or a scaled drawing. Keep mock-ups on the floor or on an accessible wall; do not climb into the stairwell to suspend a temporary outline.
A common decorative starting point adds room length and width in feet and uses that total as a chandelier diameter in inches. Treat that as a rough proportion check, not a clearance rule. An irregular stairwell, narrow void, or nearby railing can make the result unsuitable.
Check the widest part of the actual design. Branches, shades, and decorative elements can extend beyond the central body, and a long linear fixture needs both length and width assessed.
- Mark the fixture's full width on your floor plan.
- Compare that outline with the stair edge and landing railing.
- Check the view through the front door and from adjacent rooms.
- Compare open-frame and visually dense shapes separately.
- Reject any candidate whose dimensions remain unclear.
3. Calculate total drop from the mounting point
Total drop is the vertical distance from the ceiling mounting point to the fixture's lowest point. Depending on the seller's terminology, overall hanging height can include the canopy, chain or cable, rods, and fixture body. Check the dimension diagram rather than assuming every listing uses the same definition.
Subtract the proposed total drop from the mounting-point height to find the fixture's lowest elevation above the floor below. That calculation does not establish stair clearance: the steps rise toward the fixture, so your electrician must assess the complete arrangement.
For your 2026 shortlist, compare minimum and maximum installed height. An adjustable suspension does not mean every drop is possible. Ask Nora Furnish for lighting help when a dimension needs clarification; selection guidance does not replace an electrician's site assessment.
- Separate fixture-body height from total installed height.
- Confirm the shortest permitted suspension arrangement.
- Confirm the longest supplied suspension arrangement.
- Check whether adjustment requires extra components.
- Mark the lowest point against both floor and stair elevations.
4. Position the fixture for the entrance and upstairs view
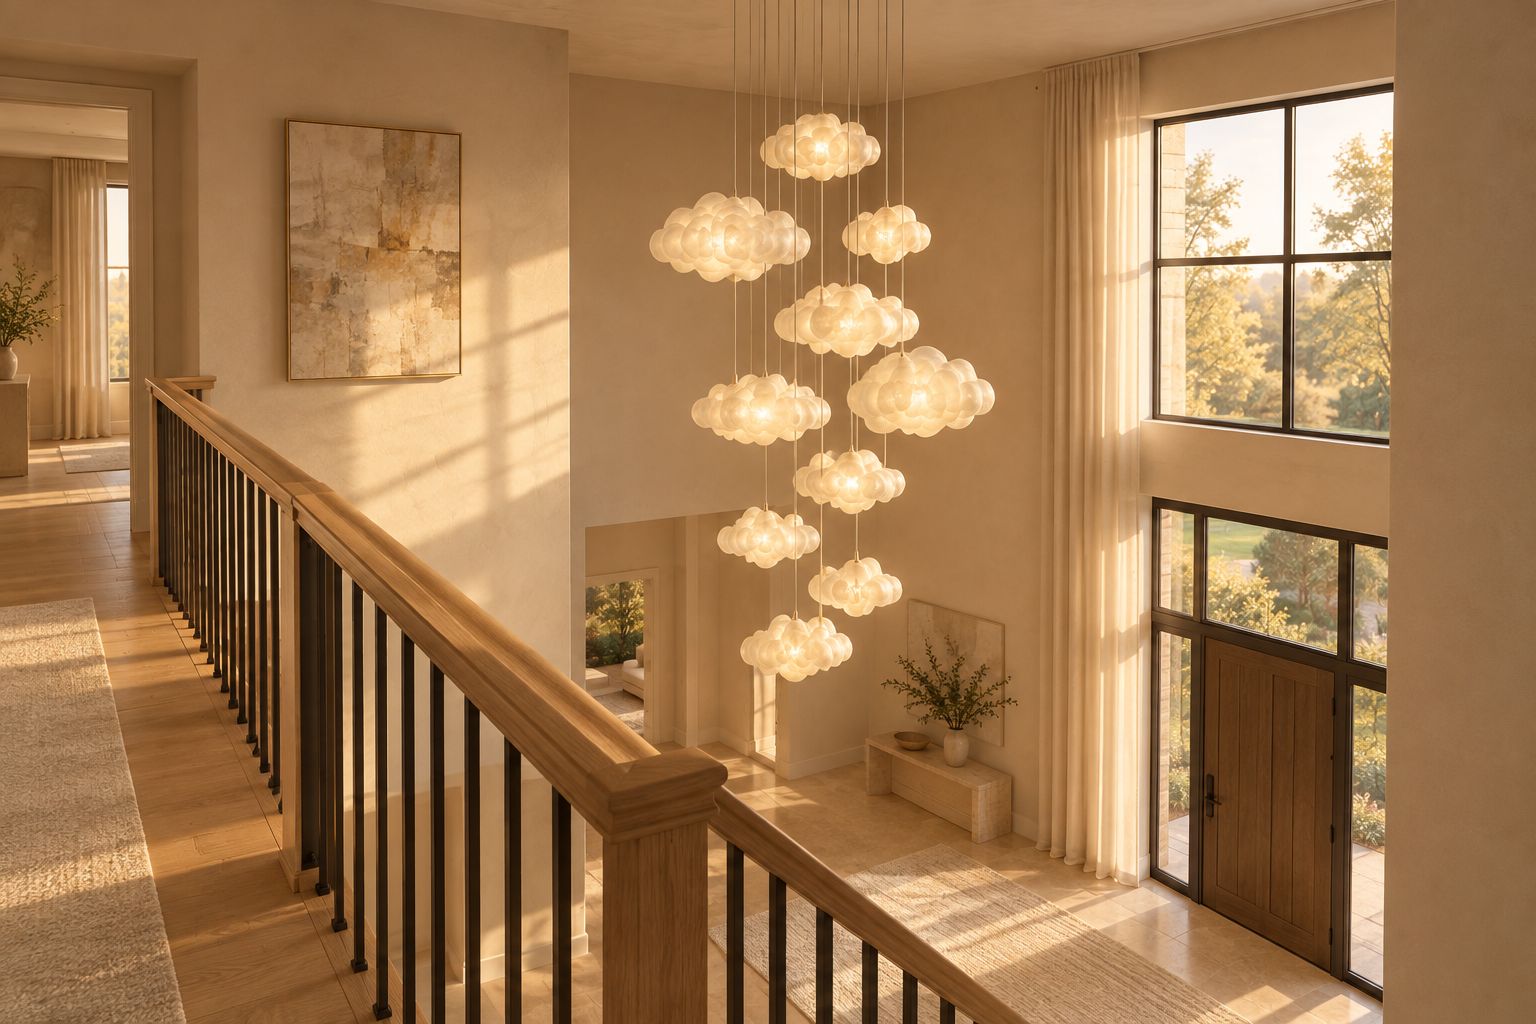
Start with the view you use most: usually approaching through the front door or crossing the foyer. Then inspect the same proposed position from the landing. A chandelier occupies a shared volume, not a single photograph.
A tall cascade can connect the upper and lower levels visually, but its lower elements need careful positioning. A broad chandelier can fill a wide foyer without extending as far downward, although its arms require more lateral space.
There is no universal requirement to center the fixture over the first stair tread. Center it within the usable space, then ask an electrician whether the electrical location and ceiling structure support that position.
- Check the outline from the entrance before judging decorative details.
- Keep the landing view clear of uncomfortable direct light.
- Check nearby doors and any opening windows.
- Assess whether shades or diffusers conceal bright sources upstairs.
- Confirm that the fixture does not obstruct normal circulation.
5. Match brightness, light color, and controls
Choose light output for the tasks, not simply for the room's height. Lumens describe light output; watts describe power use. Neither figure alone tells you how evenly a chandelier will illuminate a stair flight.
For a warm residential effect, compare 2700 K and 3000 K options where offered. These are color-temperature choices, not brightness levels. Look at nearby lighting too: noticeably different light colors can make the entryway feel disconnected from adjoining rooms.
For a 2026 purchase, verify dimming details before ordering. A dimmable light source still needs a compatible control, and an integrated LED fixture can have different requirements from a chandelier using replaceable bulbs.
- Read the stated lumen output and how it is measured.
- Check whether bulbs are included or specified separately.
- Confirm color temperature rather than relying on room photographs.
- Match the fixture's dimming method to a compatible dimmer.
- Assess tread and landing illumination separately from the central chandelier.
6. Confirm installation and future maintenance
Ask a qualified electrician to review the proposed fixture before purchase. A two-story installation involves the mounting position, fixture weight, ceiling support, electrical suitability, and safe access—not just connecting a light.
Think beyond installation day. Dusting, glass cleaning, and replacing bulbs or components need a workable access plan. A fixture that looks simple from below can have many surfaces to clean or light sources that are difficult to reach.
Keep your 2026 purchase notes together: the dimension diagram, installation instructions, electrical specifications, and written answers to any questions. Do not substitute a similar fixture's documentation for the model you intend to buy.
- Confirm fixture weight and the required mounting support.
- Ask how the electrician will access the mounting point safely.
- Verify suitability for the ceiling angle and intended location.
- Identify how bulbs or light components are serviced.
- Agree on a practical cleaning and maintenance approach.
Compare chandelier shapes for your entryway
The best shape is the one that fits the usable hanging space without compromising upstairs comfort. Compare these design options before narrowing your finish choices. Each has a useful role and a limitation.
| Option | Best for | Main advantage | Key limitation |
|---|---|---|---|
| Tall cascade | A tall, narrow open foyer | Extends the visual composition vertically | Lower elements need careful checks beside rising stairs |
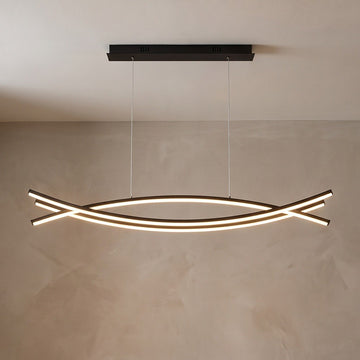
| Broad chandelier | A wide foyer with generous lateral space | Gives the entrance a strong horizontal focal point | Arms and shades can approach railings or walls |
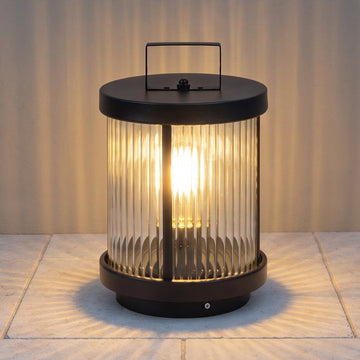
| Open-frame lantern | Homeowners who want a defined outline | Its open structure keeps views through the fixture | Exposed bulbs can create glare from the landing |
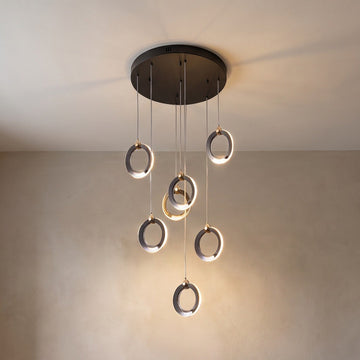
| Multi-pendant arrangement | An entryway needing a staggered composition | Lets several hanging elements form one grouping | Each element's drop and service access need checking |
| Compact chandelier | A constrained void beside the stairs | Occupies less of the shared circulation space | Can look visually small within a tall entrance |
Use this table to choose a shape, not to infer product specifications. Suspension adjustment, sloped-ceiling compatibility, dimming, and light output must all be confirmed for the exact fixture.
Common mistakes two-story entryway homeowners make
Choosing width from a room formula alone
A decorative sizing formula ignores the stair flight and landing. Use a formula only as a starting point, then draw the actual fixture outline inside the usable void. A smaller fixture that fits beats a larger one selected from floor area alone.
Treating cable length as total hanging height
Suspension length and installed height are not interchangeable. The fixture body and mounting assembly also occupy vertical space. Request the complete dimension diagram before deciding that a chandelier will hang high enough—or low enough.
Checking glare only from downstairs
A light source hidden by a shade from below can become visible from the landing. Review the fixture's construction and upstairs sightline. Dimming helps control output, but it does not change the physical position of an exposed bulb.
Expecting the chandelier to light every tread
A central chandelier creates a focal point, but the stairs can block or redirect its light. Assess the stair flight independently. Supplementary lighting belongs in the plan whenever the chandelier leaves circulation areas inadequately lit.
Leaving service access until after installation
Cleaning and light-source replacement are part of ownership. Before approving a fixture, ask how those jobs will happen safely. Do not choose a difficult-to-service design on the assumption that someone will solve access later.
FAQ
What size chandelier is best for a two-story entryway?
The best chandelier size fits the clear hanging space beside the stairs and looks balanced from the entrance and landing. Use the full published width and height, then check the outline against walls, railings, doors, and circulation.
How low should a staircase chandelier hang?
A staircase chandelier should hang where its complete outline clears circulation and works from both levels. Calculate the lowest point from total installed height, then have a qualified electrician assess the rising stairs and applicable clearance requirements.
Should a chandelier be centered over the staircase?
A chandelier should be centered within the suitable hanging space, not automatically over a stair tread. The entrance view, landing position, ceiling support, and electrical location all affect placement.
Is a cascade better than a wide chandelier for a tall foyer?
A cascade suits a tall, narrow void, while a wide chandelier suits an entryway with more lateral space. Neither is automatically better; compare the complete hanging envelope and the view from upstairs.
Is 2700 K or 3000 K better for an entryway chandelier?
Both 2700 K and 3000 K suit warm residential lighting, with 2700 K appearing warmer. Choose alongside the light color in adjoining rooms, and assess brightness separately using lumen information and light distribution.
Can I install a two-story foyer chandelier myself?
Use a qualified electrician for a hardwired two-story foyer chandelier. The installation needs suitable support, electrical compatibility, and safe access at height; do not work over a stair void from an improvised setup.
What should I send Nora Furnish when asking about chandelier fit?
Send Nora Furnish the fixture you are considering, your ceiling height, the clear foyer dimensions, and photos from downstairs and the landing. Ask for clarification of total hanging height, adjustment limits, and relevant specifications, then have your electrician confirm site suitability.
One last thing
Photograph the entryway from the upper landing before finalizing your 2026 choice. That view reveals the side of the chandelier you will pass every day, including bulbs, shade openings, and the suspension. If the fixture only works from the front door, keep looking.