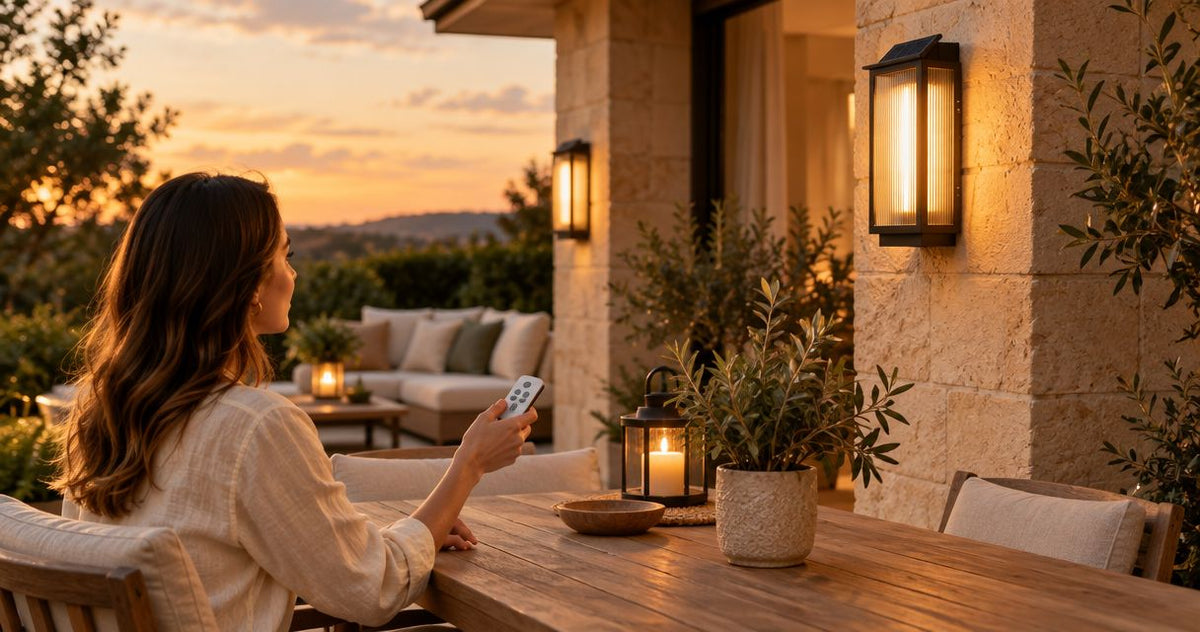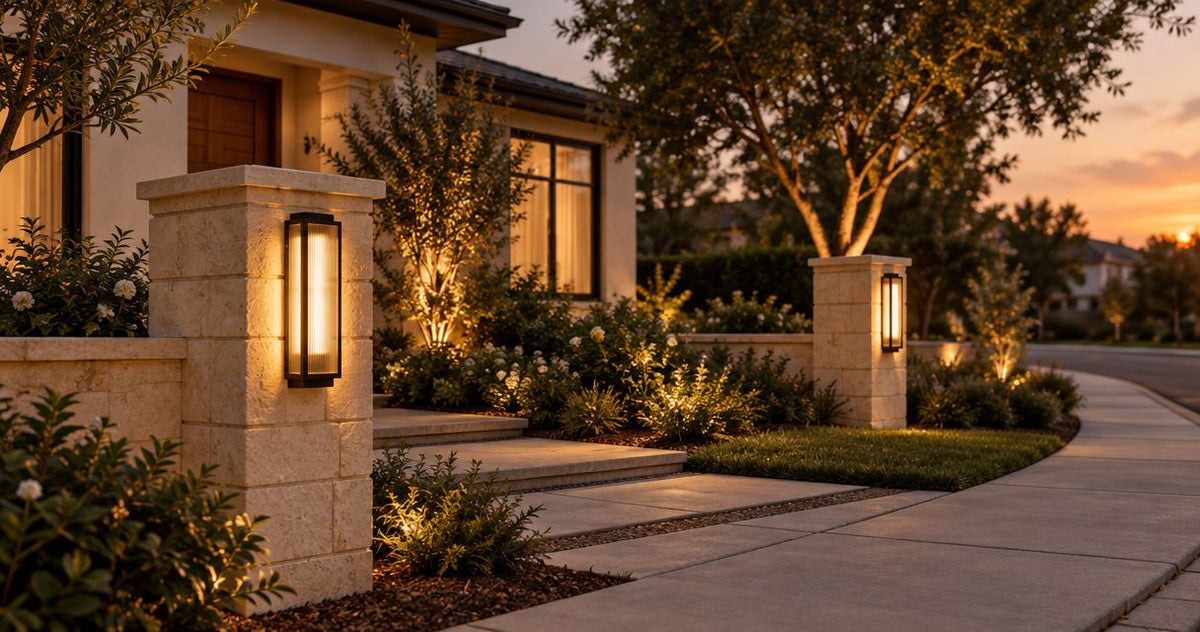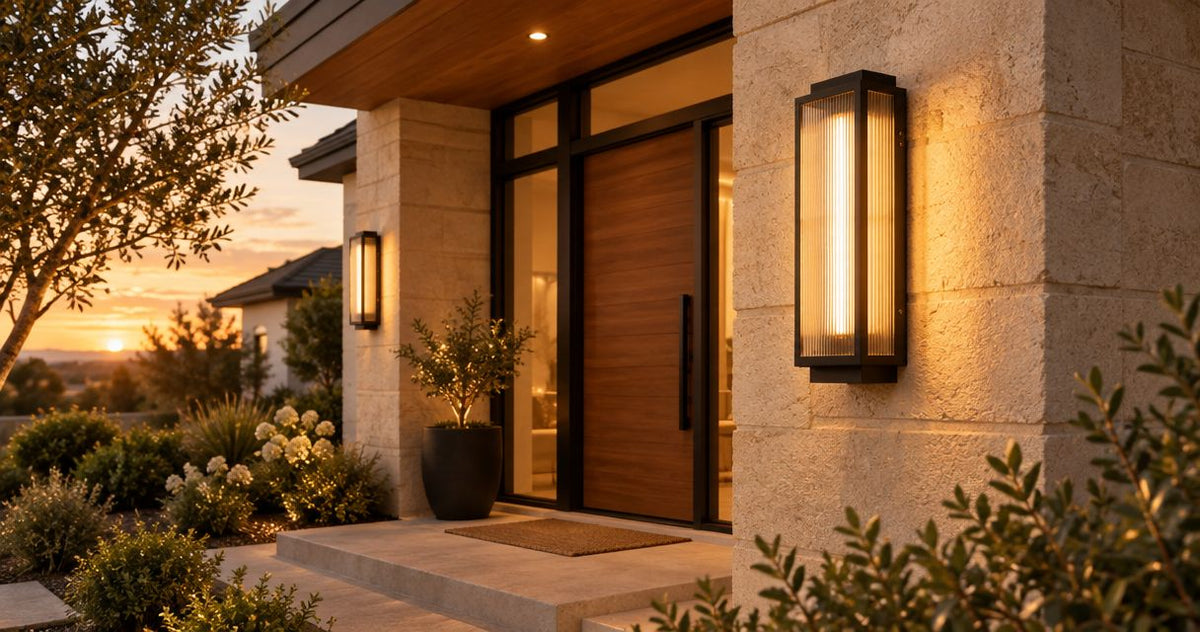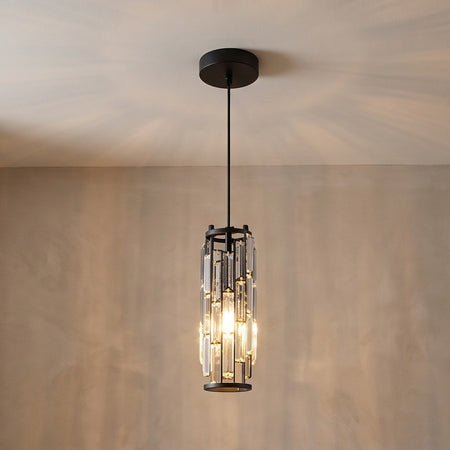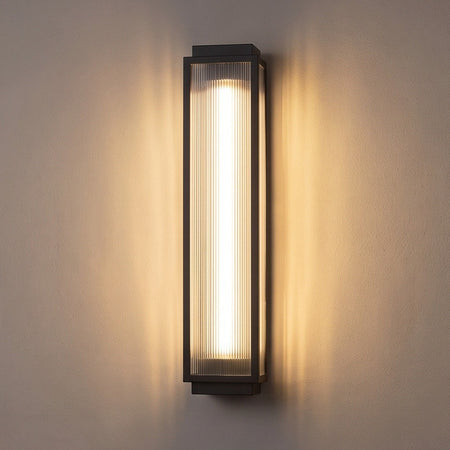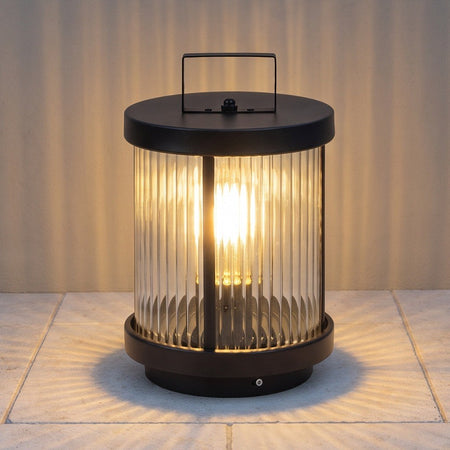












Off-grid homeowners’ solar path lighting is self-contained outdoor lighting that uses sunlight to charge batteries, with the aim of making walking routes easier to follow without drawing from the home’s electrical system. Choosing solar path lights for off-grid homes starts with matching the charging location to the route you need illuminated, especially where trees, winter shade, and uneven ground complicate placement.
- Choose solar path lights for off-grid homes around sunlight access and useful ground coverage, not decorative brightness alone.
- Nora Furnish suits homeowners comparing outdoor lighting by room fit, appearance, and practical specifications.
- Separate path guidance from lighting for steps, locks, and other tasks that need dependable visibility.
- Check solar charging, battery serviceability, weather suitability, and mounting instructions before choosing a fixture.
Why solar path lighting matters for off-grid homeowners
A self-contained solar light keeps its charging and battery demands separate from your household power system. That is useful along a garden walk or gate approach, but it also means each fixture depends on the sunlight reaching its own panel. A sunny doorway does not guarantee a sunny path beneath nearby trees.
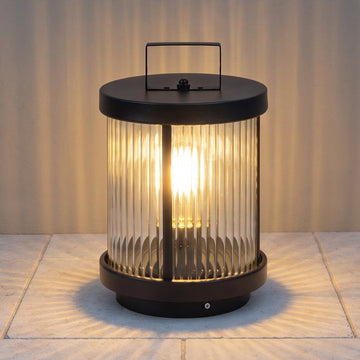
Nora Furnish outdoor lighting is best for homeowners comparing how fixtures look lit and unlit and fit a real home. When browsing Nora Furnish, judge the fixture’s mounting format and practical specifications before its decorative effect. A good-looking lantern still needs the right location and light distribution.
For your 2026 plan, distinguish pleasant route markers from lighting you depend on to see hazards. Solar path lights belong in a wider visibility plan, not an assumption that every outdoor task needs the same light.
How to plan solar path lights for an off-grid home
1. Map the route before choosing fixtures
Start with a sketch of the walk from your gate or parking area to the entrance. Include steps, changes in surface, tight turns, and places where you carry groceries or find keys; these are different lighting jobs, even when they share one path.
Walk the route after dark using a handheld light. Aim it at the ground rather than your eyes to identify what needs illumination. Record a 24-hour observation cycle that includes daytime shade and evening use; treat it as a site check, not proof of performance across seasons.
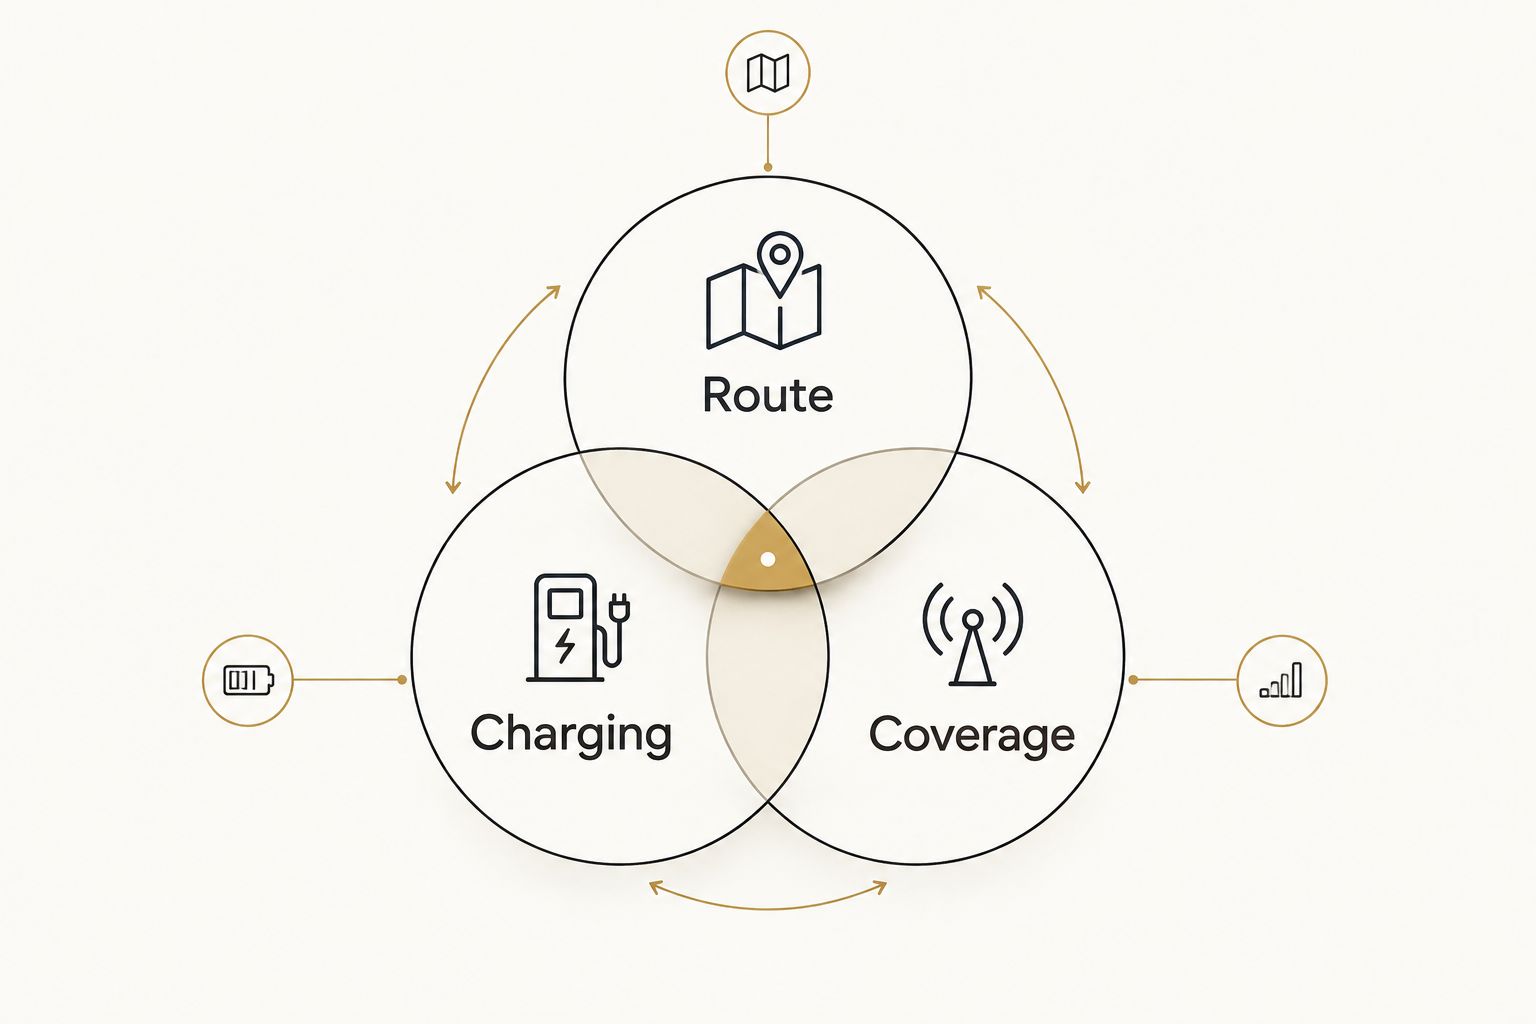
Build your sketch around these practical layers:
- Route: mark entrances, bends, steps, and changes in level.
- Charging: note open sky, overhanging branches, and building shadows.
- Coverage: mark surfaces you need to see, not just fixture positions.
- Backup: identify places where a handheld light must remain accessible.
The route, charging locations, and required coverage need to work together. If those areas do not overlap, change the fixture arrangement rather than assuming a brighter light will solve the problem.
2. Check sunlight where the panel will actually sit
Inspect the proposed panel position, not just the surrounding garden. A panel beside a sunny lawn can still sit in shade from a fence, railing, or the fixture’s surroundings. Check the location at different times rather than relying on the brightest moment of the day.
In the Northern Hemisphere, the sun follows a lower path across the sky in winter. For a 2026 installation, assess seasonal shade before committing to permanent mounting. A summer observation alone does not establish winter charging conditions.
Use the manufacturer’s charging instructions as your acceptance criteria. If the instructions require direct sunlight that your chosen position does not receive, relocate the panel or choose another lighting arrangement.
- Observe morning, midday, and afternoon shade at panel height.
- Include fences, evergreen plants, roofs, and parked vehicles.
- Check whether panel orientation is adjustable.
- Confirm whether a separate panel is supported by the fixture.
- Keep the panel clear of the fixture’s own shadow.
3. Match the mounting format to the walking route
Choose the mounting location before choosing the appearance. Ground stakes suit planting edges where the soil holds them securely; pier-mounted fixtures belong on an appropriate raised mounting surface. Neither format automatically delivers useful light across the entire path.
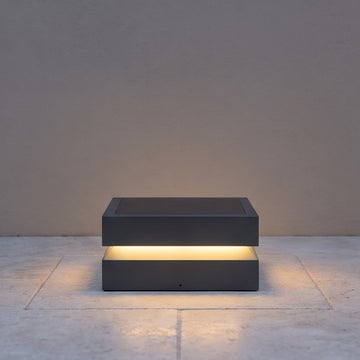
For a gate pier, compare Nora Furnish’s Modern Open Frame Square LED Solar Pier-Mounted Outdoor Post Light with your mounting surface and coverage needs. Treat it as a pier-mounted option, not as evidence that one entrance fixture will illuminate the full approach.
A separate-panel design offers more freedom to place the light and panel differently, but introduces a connecting cable that needs suitable routing. Choose the format that fits the site before choosing the finish.
- Match stakes to stable ground outside the walking line.
- Match pier fixtures to the specified mounting surface.
- Check dimensions against gates, planting, and nearby railings.
- Keep fixtures clear of mower and snow-clearing routes.
- Follow the mounting instructions for the selected fixture.
4. Plan ground coverage rather than equal spacing
Start with the hazards and direction changes, then fill the gaps. Evenly spaced points of light can look orderly while leaving a dark step or bend between them. The useful question is whether you can read the walking surface comfortably.
There is no universal spacing that works for every solar path light. Beam shape, mounting height, output, and surrounding surfaces all affect coverage. Follow the product guidance and test placement before fixing anything permanently.
Light should help your eyes follow the route, not force you to look past bright exposed sources. Stand at both ends of the path and assess the approach from each direction, including from a seated position where relevant.
- Prioritize step edges, bends, and changes in paving.
- Place lights outside the usable walking width.
- Direct illumination toward the surface you need to see.
- Check for glare from normal approach angles.
- Test temporary positions before permanent mounting.
A successful arrangement makes the route legible without turning the garden into a row of bright points. Keep the fixtures visually connected to the path rather than scattered through planting without a clear purpose.
5. Separate light color from brightness and runtime
Lumens describe light output; kelvins describe light color. Watts describe electrical power, not how bright a fixture looks on your path. These measurements answer different questions and should not substitute for one another when comparing options.
For a warm residential effect, compare options around 2700 K and 3000 K where offered. Those color temperatures do not establish brightness, battery endurance, or charging performance. A warm-looking light still needs enough useful output in the right direction.
For your 2026 shortlist, read runtime claims alongside the stated operating mode and charging conditions. A dim marker mode and a brighter motion-triggered mode do not perform the same job, even when they share a fixture.
- Compare lumens separately from color temperature.
- Identify the operating mode behind each runtime claim.
- Check whether brightness changes as the battery discharges.
- Confirm how motion controls behave, if included.
- Avoid treating decorative glow as proof of safe footing.
6. Verify weather suitability and service needs
Read the fixture’s documentation for its intended outdoor exposure. A location under an eave differs from a fully exposed path, and an outdoor label does not answer every question about standing water, snow, or operating temperatures.
Check the battery instructions before ordering. A documented replacement process gives you a maintenance route; a sealed battery assembly requires a different service plan. Do not assume that a removable-looking cover means the battery is user-replaceable.
Bring the site details to Nora Furnish’s contact team when you need clarification. Ask about the exact fixture rather than requesting a general assurance that solar lighting works off-grid. For any hardwired part of the wider lighting plan, use a qualified electrician.
- Confirm the specified exposure and operating-temperature range.
- Read mounting and drainage requirements.
- Check battery type and replacement instructions.
- Ask how replacement components are identified.
- Keep the product instructions with your 2026 purchase records.
7. Build cleaning and seasonal checks into the plan
Choose a panel position you can reach safely for maintenance. A location that receives sunlight but requires unsafe access for cleaning is a poor long-term choice. Dirt, leaves, and snow can obstruct sunlight reaching the panel, so charging access needs to remain practical after installation.
Treat solar panel cleaning as a manufacturer-led maintenance task: follow the specified method and avoid abrasive tools or unapproved cleaners. Cleaning is not a cure for shade, an aging battery, or a fault, so inspect those separately when performance changes.
Keep a simple 2026 maintenance record with the light’s mode, panel condition, and observed behavior. The aim is to distinguish a seasonal charging problem from a fixture that needs service.
- Remove leaves and debris using the approved method.
- Check panel shading as nearby plants grow.
- Inspect mounts after severe weather.
- Record changes in runtime under comparable conditions.
- Keep a handheld backup for essential access.
Compare lighting options for an off-grid path
Choose by the job each option performs, not by the word solar alone. Self-contained solar fixtures avoid a connection to your household supply, but their charging locations constrain placement. Lighting connected to the home’s off-grid electrical system offers a different design route and adds an electrical load to that system.
| Option | Best for | Main advantage | Key limitation |
|---|---|---|---|
| Integrated solar stake lights | Planting-edge route markers with suitable sun | Panel and light form one movable unit | The light’s position must also suit charging |
| Separate-panel solar lights | Routes where the panel needs a different position | Panel placement is less tied to light placement | Connecting cable needs suitable routing |
| Solar pier-mounted lights | Gate piers and raised entrance features | Combines an entrance fixture with local illumination | Raised placement does not guarantee path coverage |
| Lighting connected to the home’s off-grid system | Access routes needing a designed electrical supply | Fixture placement is not tied to an individual solar panel | Adds load and requires appropriate electrical design |
| Handheld rechargeable lights | Backup access and occasional tasks | Light travels with you | Does not provide unattended route guidance |
Do not ask a decorative entrance light to do every job in this table. A path can combine route guidance with a separate plan for steps and key access points.
Common mistakes off-grid homeowners make
- Buying around a summer photograph. A bright garden image does not establish your winter charging conditions. Check the actual panel position through seasonal shade changes.
- Using advertised runtime as a lighting guarantee. Read the charging conditions and operating mode behind the claim. Do not base essential access on an unspecified test setup.
- Putting every fixture where it looks symmetrical. Prioritize the turn, step, or uneven surface before matching the opposite planting bed.
- Ignoring battery serviceability. Check replacement instructions before choosing a fixture that will be difficult to maintain.
- Treating porch lighting as complete path lighting. Assess the ground between the entrance and gate separately, including the approach from both directions.
FAQ
What are the best solar path lights for off-grid homes?
The best solar path lights for off-grid homes match the site's sunlight, required ground coverage, and maintenance access. Choose the mounting format first, then verify output, operating modes, and battery instructions for the exact fixture.
Will solar path lights work beneath trees?
Tree cover can restrict the sunlight available for charging. Check the panel location against the manufacturer's requirements, and consider a supported separate-panel arrangement when the walking route and sunny location do not overlap.
How far apart should I place solar path lights?
Set spacing from the fixture's coverage and the path's hazards, not a universal distance. Test positions after dark and prioritize steps, bends, and changes in surface.
Do solar path lights draw power from an off-grid house battery?
Self-contained solar path lights use their own panel and battery rather than the house battery. Outdoor fixtures connected to the home's electrical system are a separate lighting arrangement and add to its load.
Should I choose warm white solar path lights?
Warm white is a suitable choice when you want a softer residential appearance. Compare color temperature separately from lumens, because light color does not establish brightness or runtime.
Can I rely on solar path lights throughout winter?
Do not assume year-round performance from summer conditions or an unqualified runtime claim. Check seasonal shading and the fixture's operating limits, and maintain backup lighting for essential access.
Can Nora Furnish help me choose an outdoor fixture?
Nora Furnish offers personal email help with lighting selection. Share the mounting location, dimensions, exposure, and intended lighting task so your questions relate to the exact fixture and site.
One last thing
Before ordering, look back toward your house from the darkest point on the route. A bright entrance fixture can make nearby dim areas harder to read through glare and contrast. Improve the light on the walking surface before adding another visible light source.