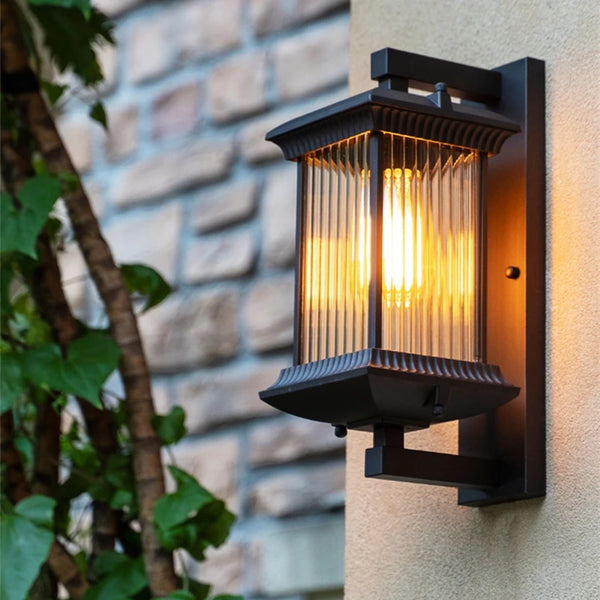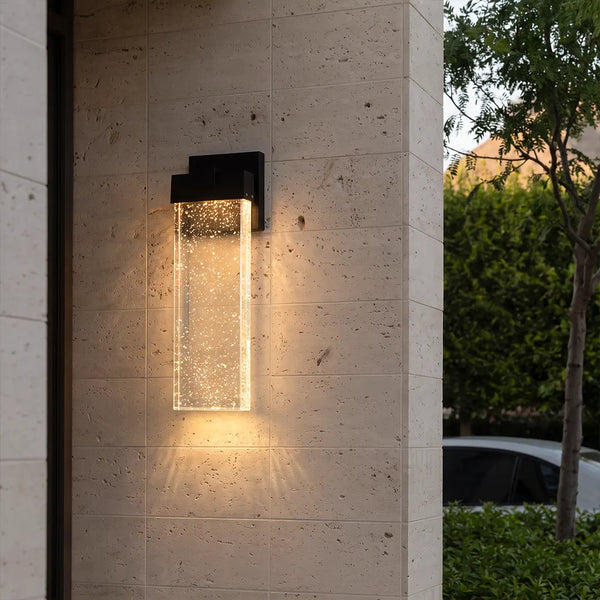

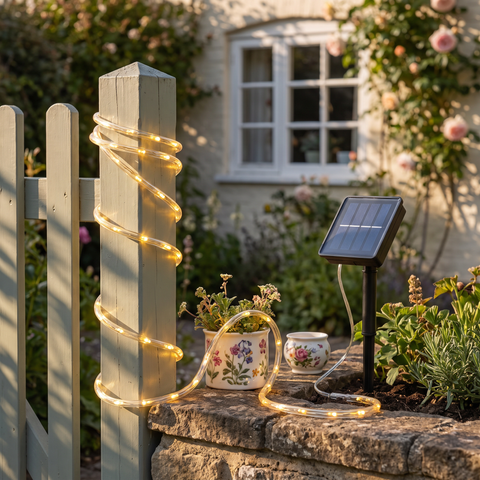

Who This Is For: Homeowners with porch lanterns, wall lights, post lights and landscape fixtures that have gone dim, dusty or spotted, and who want a simple routine that keeps them looking good and working safely.
Key Takeaways
- Quick Answer: How to Clean Outdoor Light Fixtures
- Safety First
- What You Need
- Step by Step Cleaning Method
- How to Care for Different Materials
- Inspect While You Clean
- A Simple Seasonal Schedule
- When to Call an Electrician
- Common Mistakes to Avoid
- Final Advice
Outdoor fixtures collect a surprising amount of grime. Pollen, dust, spider webs, insects, hard water spots from sprinklers, bird droppings and, near the coast, a film of salt. Over a season or two, that layer can cut the light noticeably and make even a good fixture look neglected.
Cleaning is not complicated, but a few details matter. Water and electricity need to be kept apart, some finishes are easily scratched, and certain household cleaners can cloud plastic lenses or damage coatings. A gentle routine done twice a year usually beats an aggressive scrub once every few years.
This guide covers safe preparation, the supplies you need, a step by step cleaning method, how to care for different materials, a seasonal inspection checklist and the signs that mean it is time to call an electrician.

Quick Answer: How to Clean Outdoor Light Fixtures
Turn the light off and let it cool; for hardwired fixtures, switch off the breaker too. Brush away cobwebs and insects, remove the glass or lens if it is designed to come off, and wash it in warm water with a few drops of mild dish soap. Wipe the housing with a soft cloth dampened in the same solution, rinse with a damp cloth, and dry everything completely before reassembling. Never spray a hose or pressure washer into a fixture, and avoid abrasive pads and harsh solvents. Plan to clean at least twice a year, typically spring and fall, and more often near the coast, trees or dusty roads.
Safety First
- Power off. Switch the light off at the wall. For hardwired fixtures, also turn off the circuit at the breaker, especially if you will be removing a lens or touching the socket area.
- Unplug low voltage systems. For landscape lighting, turn off or unplug the transformer before cleaning path and spot lights.
- Let bulbs cool. Even LED fixtures can be warm after hours of use. Older incandescent and halogen bulbs can be hot enough to burn.
- Keep water away from wiring. Use damp cloths rather than running water on the fixture itself. Only glass or lenses that you have removed should be washed under the tap.
- Use the ladder properly. Set it on firm, level ground, keep three points of contact and do not overreach. Have someone steady the base for high fixtures.
- Protect your eyes. Brushing out old webs and debris overhead can drop grit into your eyes, so safety glasses help.
What You Need
- Soft microfiber cloths, several of them
- A soft brush, such as a paintbrush or a clean soft toothbrush for crevices
- A bucket of warm water with a few drops of mild dish soap
- A spray bottle of plain water for rinsing
- Glass cleaner or a mix of equal parts white vinegar and water for glass (test first; see notes below)
- A handheld vacuum or a duster with an extension pole for webs
- A screwdriver if lens panels are held with screws
- Gloves and safety glasses
Step by Step Cleaning Method
- Clear webs and debris. Brush or vacuum cobwebs, insects, leaves and nests from the fixture and the wall around it.
- Remove glass or lens panels if the fixture is designed for it. Keep screws in a small container so none go missing.
- Empty the fixture. Tip out any dead insects collected inside the lens or globe.
- Wash the glass. Soak removable glass in warm soapy water, then wipe with a soft cloth. Use a soft brush on textured, seeded or ribbed glass where grime hides in the pattern. Rinse and dry fully.
- Clean the housing. Wipe the frame with a cloth dampened in soapy water, then wipe again with a cloth dampened in plain water to remove residue.
- Wipe the bulb. With the bulb cool and power off, wipe it with a dry cloth. Replace any bulb that has failed or is flickering.
- Dry everything. Let parts air dry or towel dry them before reassembly, so no moisture is trapped inside.
- Reassemble and check seals. Make sure gaskets sit flat and every screw and clip is back in place, then restore power and test the light.

Globes and Post Lights
Post and pillar lights sit out in the open, collecting leaves, pollen and bird droppings on their tops. Brush the top and base first, then wipe the glass.
If the globe does not come off, clean it in place with a damp soapy cloth and a second damp cloth to rinse. Browse outdoor post lights if a worn fixture is past saving.
How to Care for Different Materials
| Material | Clean with | Avoid | Extra care |
|---|---|---|---|
| Powder coated aluminum | Mild soapy water, soft cloth | Abrasive pads, solvents | Touch up chips with matching exterior paint to prevent corrosion |
| Stainless steel | Mild soapy water, wipe with the grain | Steel wool, chlorine cleaners | Rinse often near the coast or pools |
| Painted steel or iron | Mild soapy water | Leaving water to sit in joints | Treat small rust spots early: light sanding and a rust inhibiting paint |
| Brass and copper | Mild soapy water | Harsh polishes on lacquered finishes | Many people let the natural patina develop; polish only unlacquered pieces |
| Glass | Soapy water, glass cleaner or diluted vinegar | Abrasive powders | Soft brush for textured and seeded glass |
| Acrylic and plastic lenses | Mild soapy water only | Ammonia and solvent cleaners, paper towels | These can cloud or scratch plastic |
| Solar panels | Damp soft cloth | Abrasive pads | Clean every few weeks during pollen season |
A note on vinegar
Diluted white vinegar is a common way to lift hard water spots from sprinklers on glass. It can, however, damage natural stone, some metal finishes and certain coatings. Test it on a small hidden area first, keep it on the glass only, and rinse afterward.

Textured Glass Needs a Brush
Ribbed, seeded and frosted glass spreads light softly, but dirt settles into the texture and a cloth alone skims over it.
Use a soft brush dipped in soapy water, working along the ribs, then rinse with a damp cloth. Dry fully before refitting to avoid water spots and trapped moisture.
Inspect While You Clean
Cleaning is the perfect time to catch small problems before they become bigger ones.
- Seals and gaskets. Look for cracked, flattened or missing gaskets around lenses and mounting plates.
- Caulk. Check the caulk along the top and sides of wall mounted fixtures and renew it if it has cracked. Leave the bottom edge open so water can drain.
- Water inside. Moisture or rust inside the fixture points to a failed seal or incorrect mounting.
- Loose mounting. A fixture that moves on the wall can let water behind it. Tighten mounting screws with power off.
- Cracked glass or lenses. Replace them promptly; a cracked lens lets water reach the socket.
- Landscape lights. Straighten leaning stakes, trim plants that block light, pull mulch away from bases and check that cable connections are still buried and secure.

A Simple Seasonal Schedule
| Season | Tasks |
|---|---|
| Spring | Full clean after pollen season begins to settle, check seals and caulk, replace failed bulbs, straighten path lights |
| Summer | Quick wipe of solar panels, remove webs and insects, rinse fixtures near sprinklers with a damp cloth |
| Fall | Full clean, clear leaves from post tops and path lights, check mounting before winter storms |
| Winter | Brush snow off solar panels and path lights, check for ice buildup on exposed fixtures |
Near the coast, salt air accelerates corrosion. Wiping fixtures with a cloth dampened in fresh water every month or two helps remove salt film before it damages finishes.
When to Call an Electrician
Most cleaning is simple, but some findings are signs of an electrical problem. Turn the circuit off and contact a licensed electrician if you notice:
- Water or rust in the wiring compartment or electrical box
- Scorch marks, melted plastic or a burning smell
- Exposed, cracked or brittle wire insulation
- A fixture that flickers, buzzes or trips the breaker or GFCI after cleaning
- A loose or damaged electrical box behind the fixture
If a fixture is corroded beyond repair, replacing it is often simpler than restoring it. Our outdoor lanterns and outdoor wall lights include options in durable finishes.

Common Mistakes to Avoid
- Spraying a hose or pressure washer at fixtures, which can force water past seals and into wiring.
- Cleaning with power on, especially when removing lenses near the socket.
- Using abrasive pads or powders that scratch glass and strip finishes.
- Using ammonia or solvent cleaners on plastic lenses, which can cloud them.
- Reassembling while wet, trapping moisture that later fogs the lens.
- Forgetting the gasket, or pinching it when refitting the lens.
Final Advice
Outdoor fixtures do not need much, but they do need regular attention. A gentle clean in spring and fall, with power off, mild soap and soft cloths, keeps the light bright and the finish looking good. The inspection you do at the same time catches failing seals and loose mounts before water causes real damage.
Keep a small kit ready with cloths, a soft brush and a spray bottle, and add fixture cleaning to your seasonal yard routine. It takes an hour or so for most homes and makes a noticeable difference to how the house looks after dark.
Frequently Asked Questions
How often should outdoor light fixtures be cleaned?
At least twice a year, usually in spring and fall. Fixtures near the coast, under trees, beside sprinklers or near dusty roads benefit from more frequent cleaning.
Can I hose down outdoor lights?
It is best not to. A hose or pressure washer can force water past seals into the wiring. Use damp cloths on the fixture and wash only removed glass or lenses under running water.
What is the best cleaner for outdoor light fixtures?
Warm water with a few drops of mild dish soap is safe for almost every finish. Use glass cleaner or diluted vinegar on glass only, and test vinegar on a hidden spot first.
How do I remove hard water spots from outdoor light glass?
Diluted white vinegar on a soft cloth usually lifts sprinkler spots from glass. Keep it off stone and metal finishes, then rinse and dry the glass.
Why is there water inside my outdoor light?
Usually a gasket has failed, the lens is not sealed properly, or the fixture was mounted in the wrong orientation. Turn off power, dry it out, check the seals and caulk, and call an electrician if water reached the wiring.
Should I clean LED outdoor fixtures differently?
The method is the same. Turn off power, let the fixture cool, and avoid getting water into integrated LED modules, which are usually sealed and not meant to be opened.